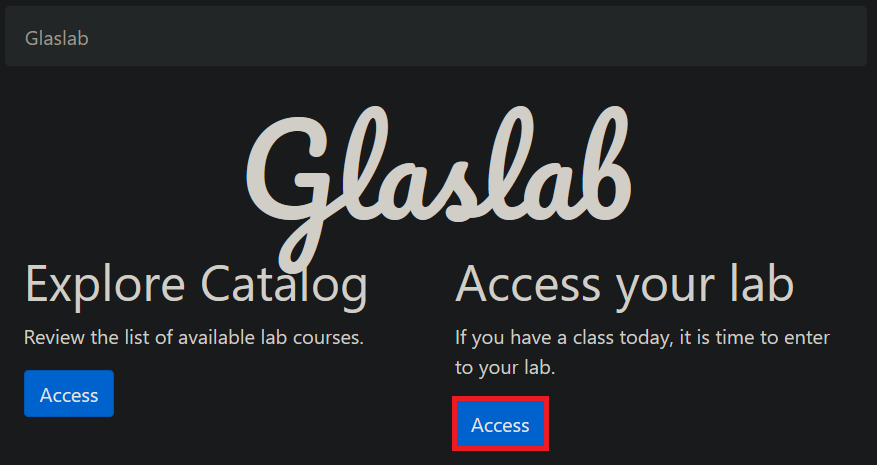
Step 1: Login into Glaslab
From Glaslab home page click the Access button in the Access you lab section. If you are not login, you will prompt to enter your username and password.
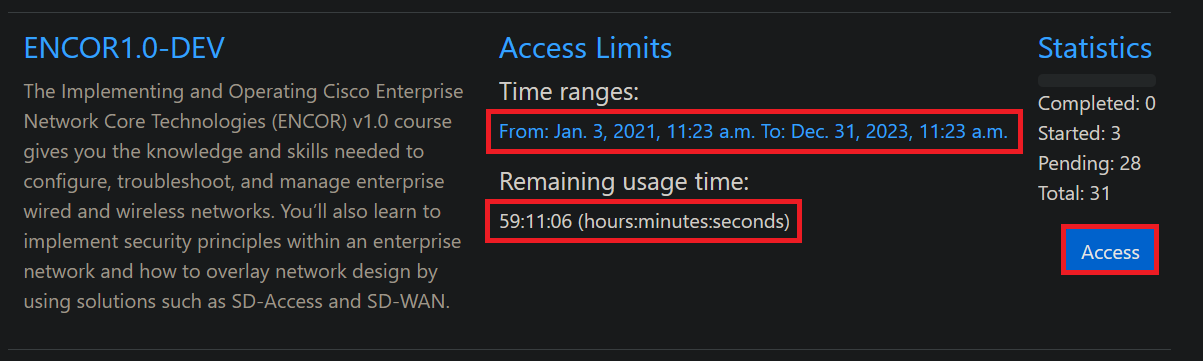
Step 2: Access a class lab
The Classes page lists your enrolled classes, the statistics column provides information about your progress like number of completed labs, started labs, pending labs and the total number of labs. To access a specific class lab verify there is valid time range, and enough remaining usage time then click the Access button.
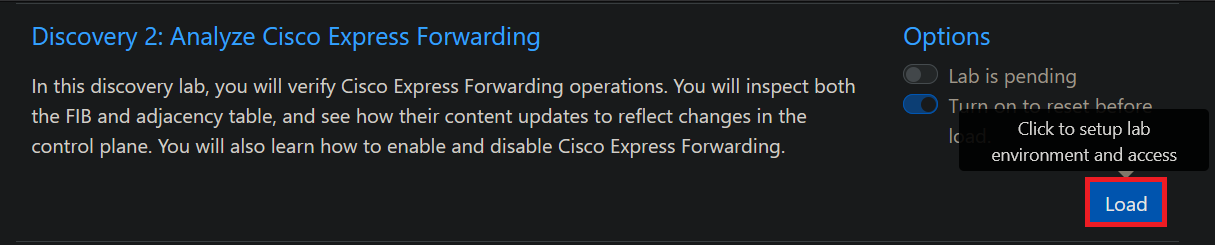
Step 3: Load a lab
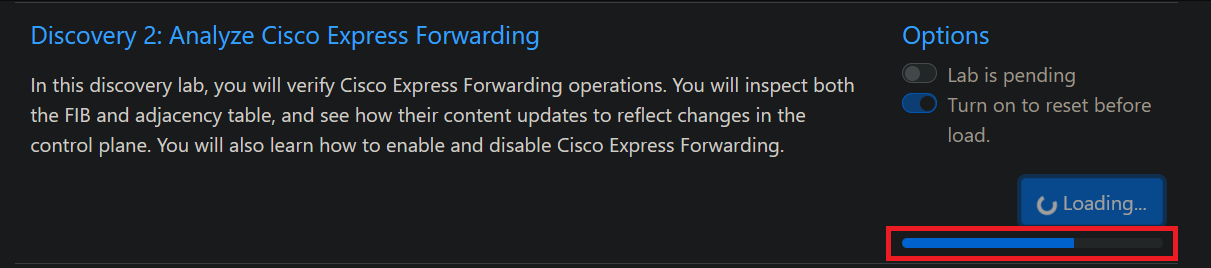
The Class page lists the labs available in a specific enrolled class. Each lab can be loaded independently so to start a lab click the Load button. A loading bar will show the loading task progress, the total loading time can vary based on the complexity of lab topology, so please be patient, when the lab is ready the lab topology will be shown.
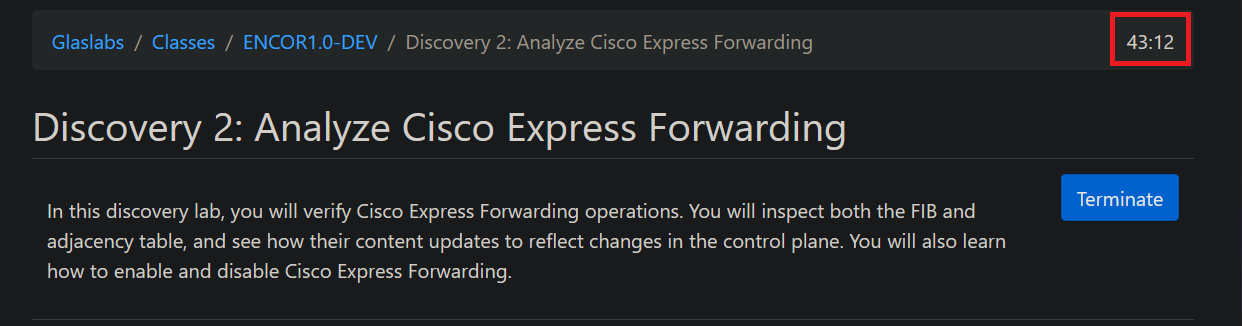
Step 4: The Auto Terminate Timer (ATT)
In the upper right side of the screen appears the Auto Terminate Timer (ATT), this timer shows the available time before the lab auto terminate. During the last ten minutes before expires it will prompt if you want to continue working in the lab and reset the ATT.
Step 5: Device access
To access each device console click on device icon a new tab will be open to work in each device.
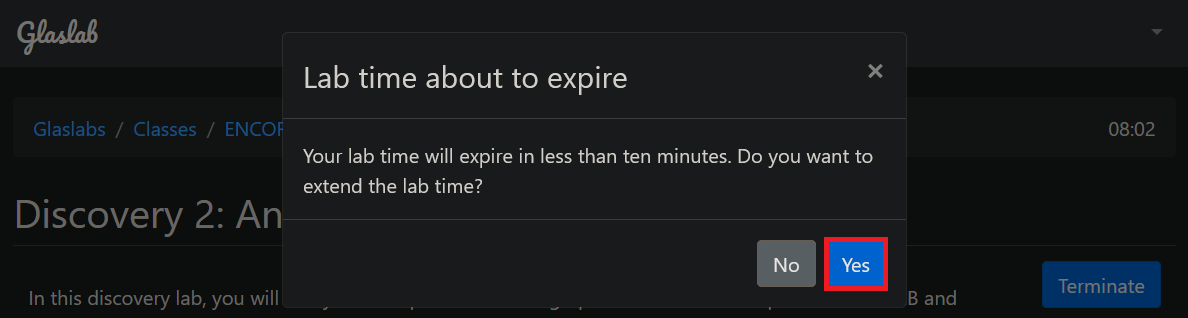
Step 6: Time to back
If you expend more than one hour in a lab, you will be prompt to reset the ATT. The ATT provides the option to be reset ten minutes before expires and auto terminates the lab, during this time the ATT will appear in that lab tab title to be easily visible when you are working on devices tabs. Return to the lab tab to reset the ATT.

Step 7: Reset the ATT
If you require more time to finish the lab click the Yes button to reset the ATT.
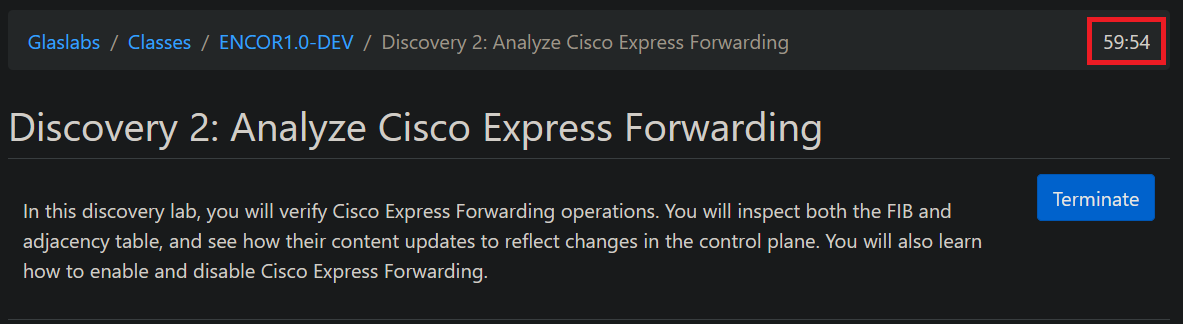
Step 8: Verify ATT restarts again
Notice the ATT starts the one hour count down again.
Step 9: Terminate the lab
When you are done with a lab close all devices tabs, then return to topology tab and click terminate button.

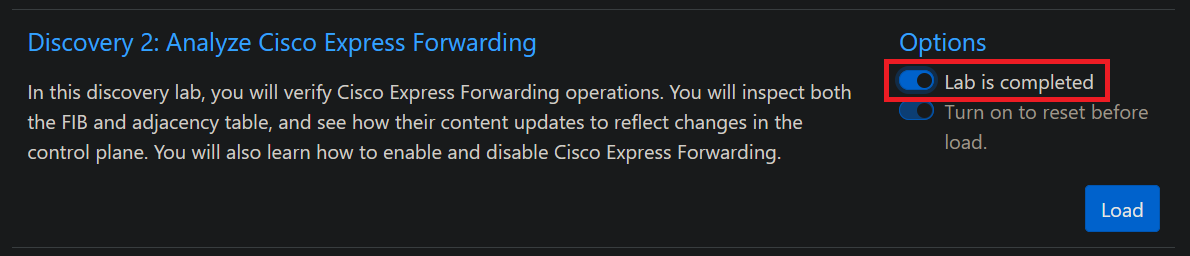
Step 10: Track your progress
If you completed the lab, toggle lab status to completed to track your progress.

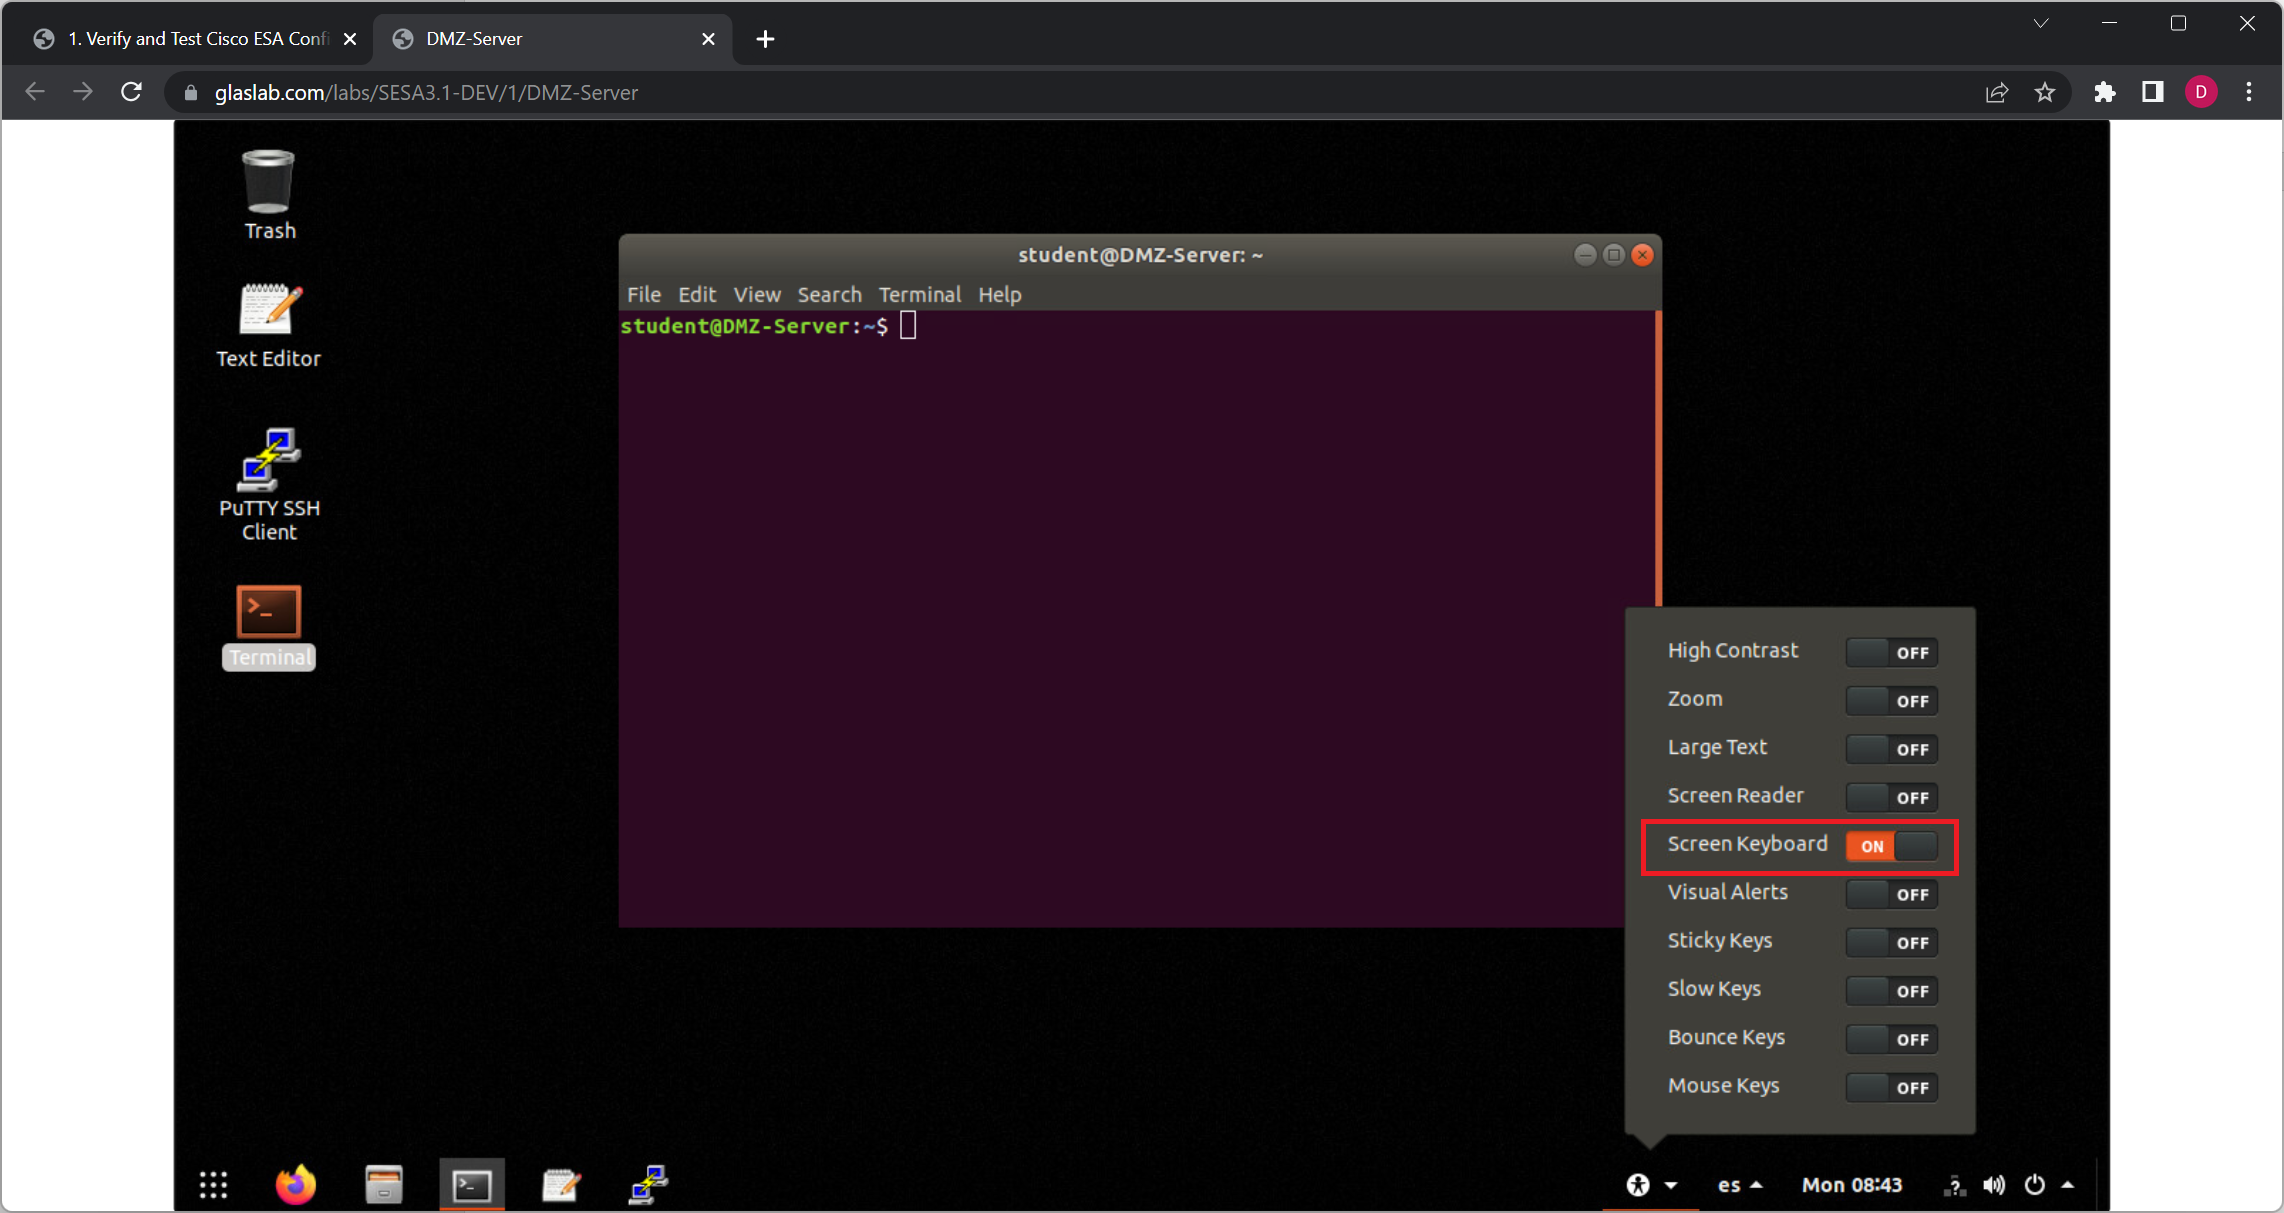
Step 1:
Press key combination Ctrl+Alt+G to display Input Options menu.

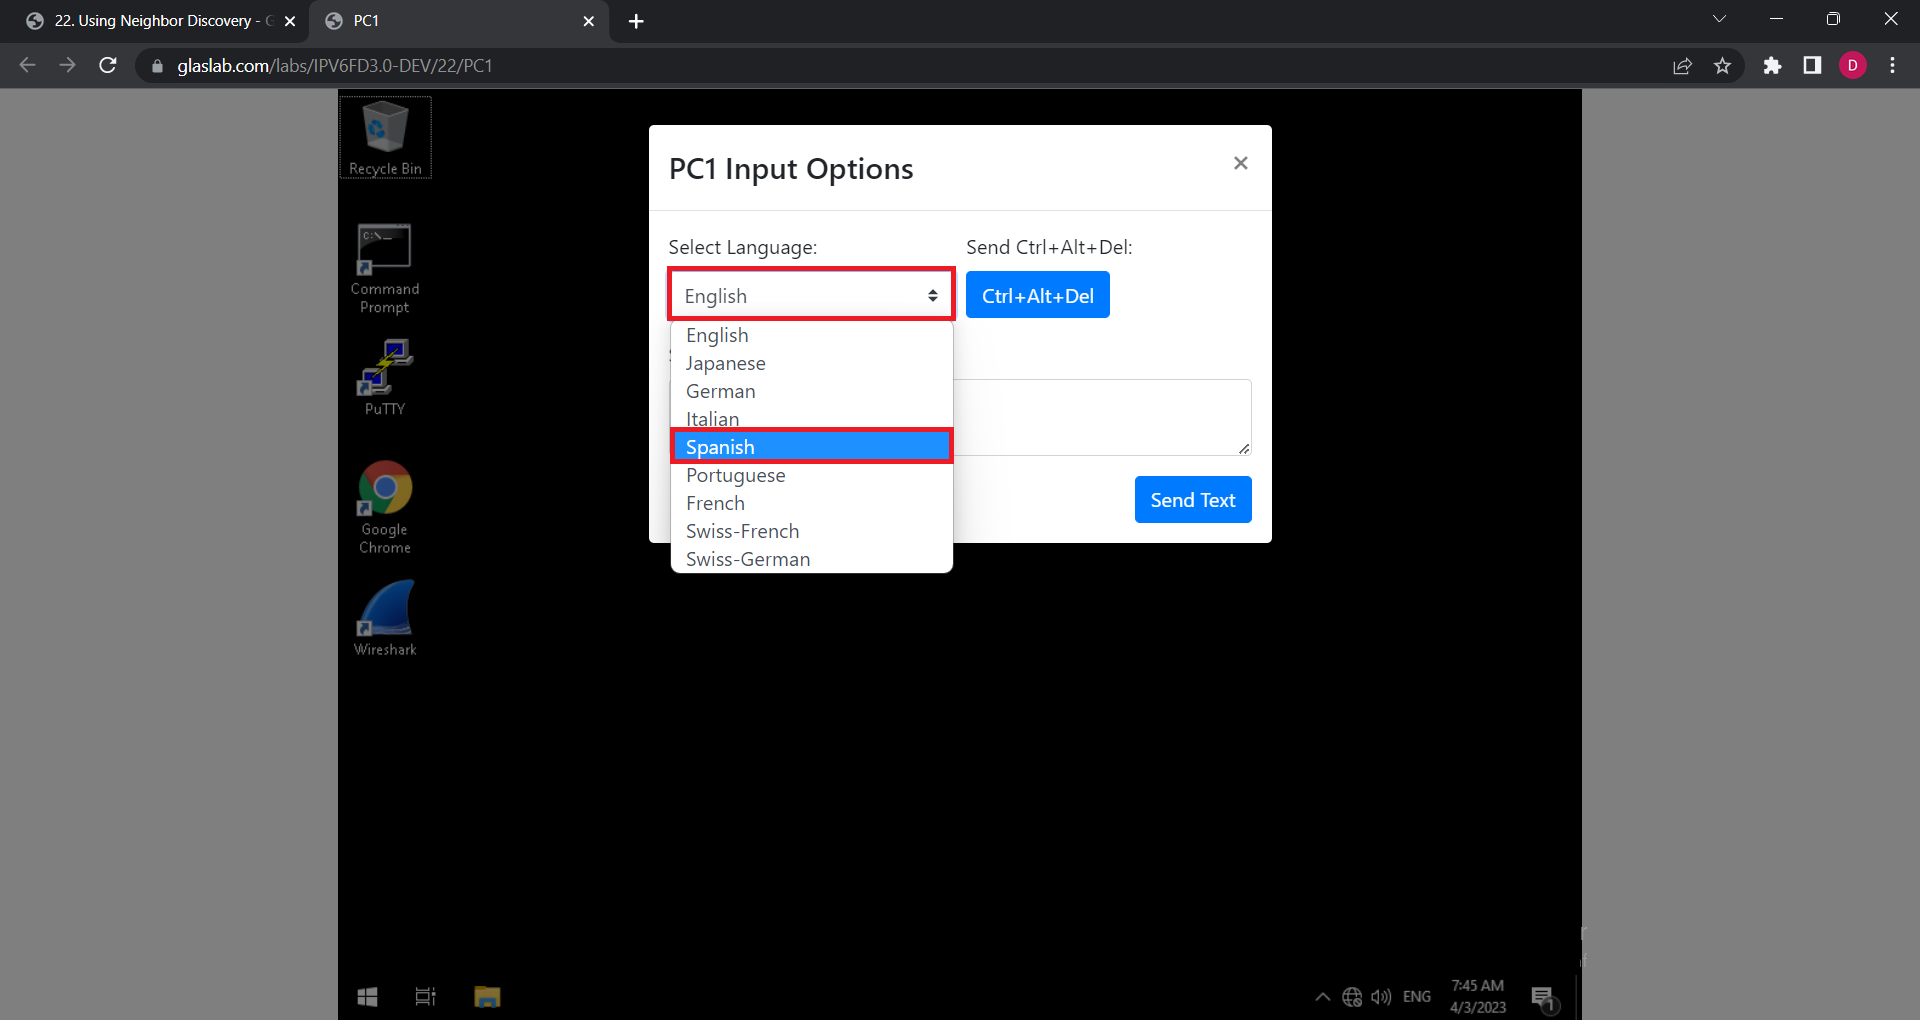
Step 2:
Click on Select Language option and click your preference language.
Step 3:
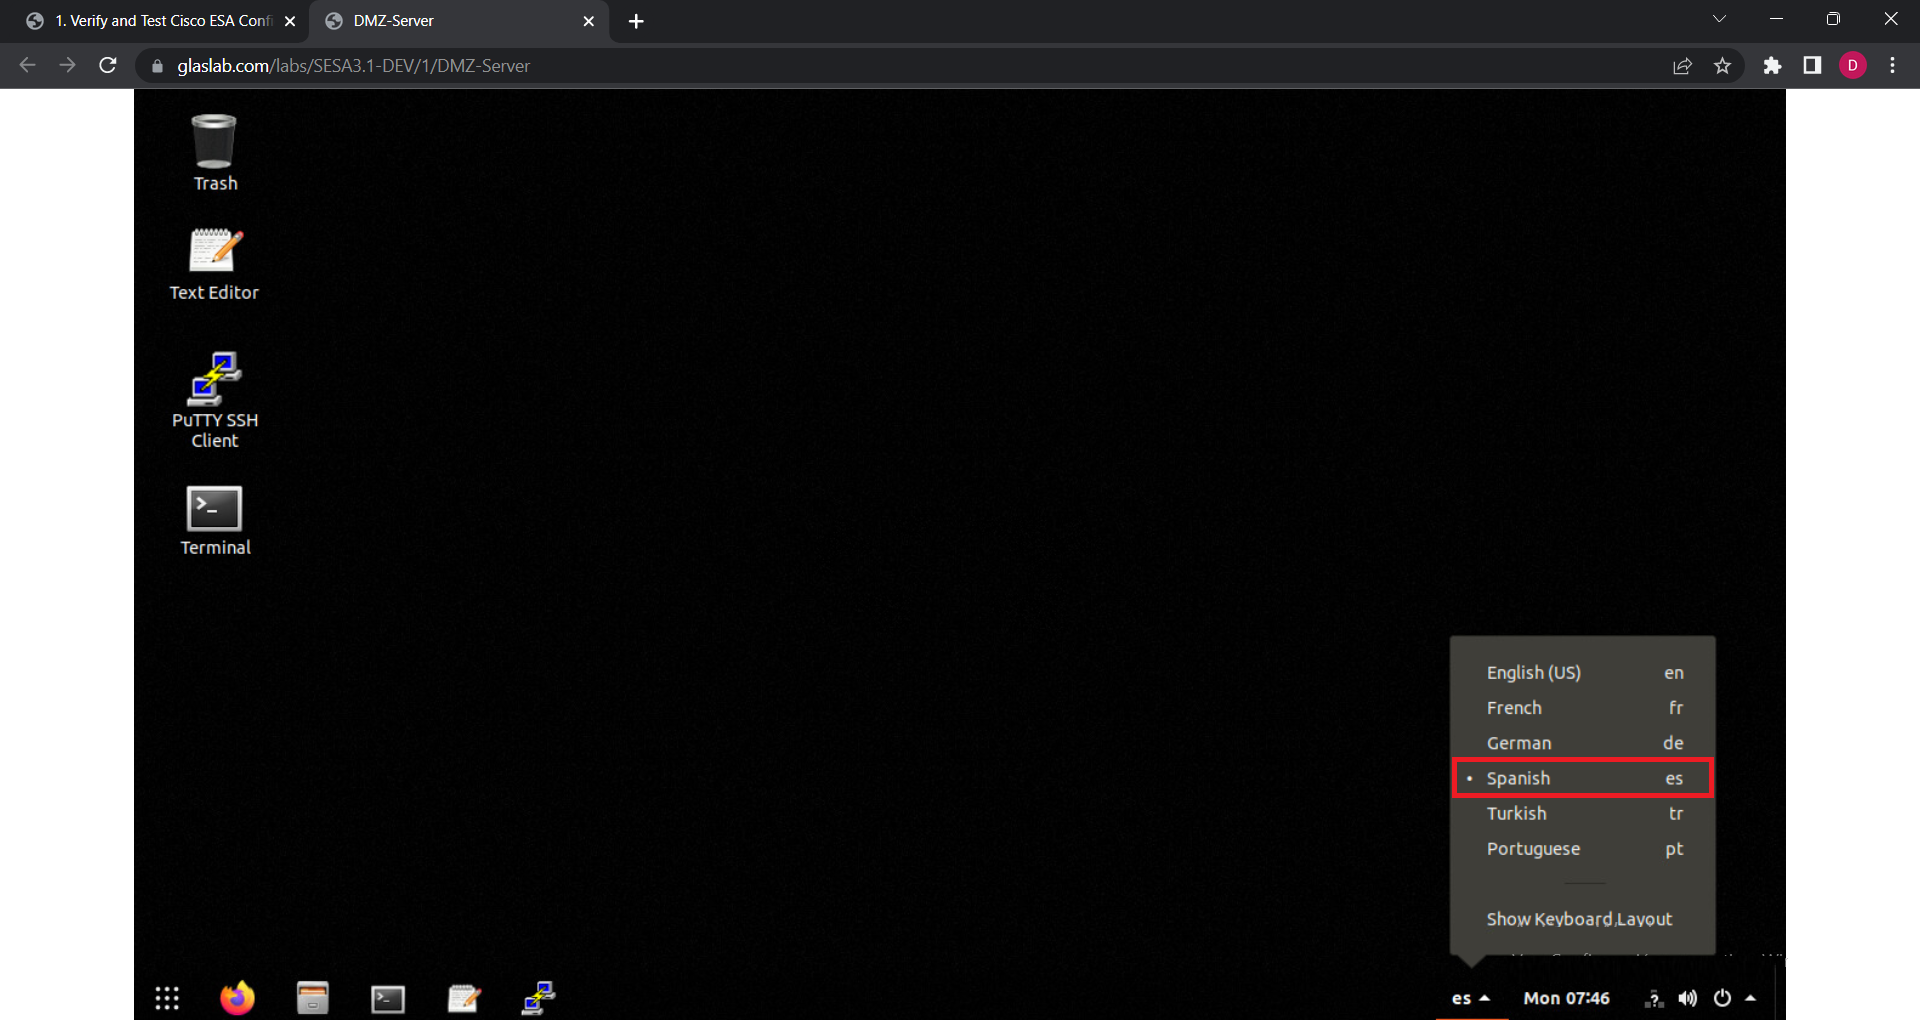
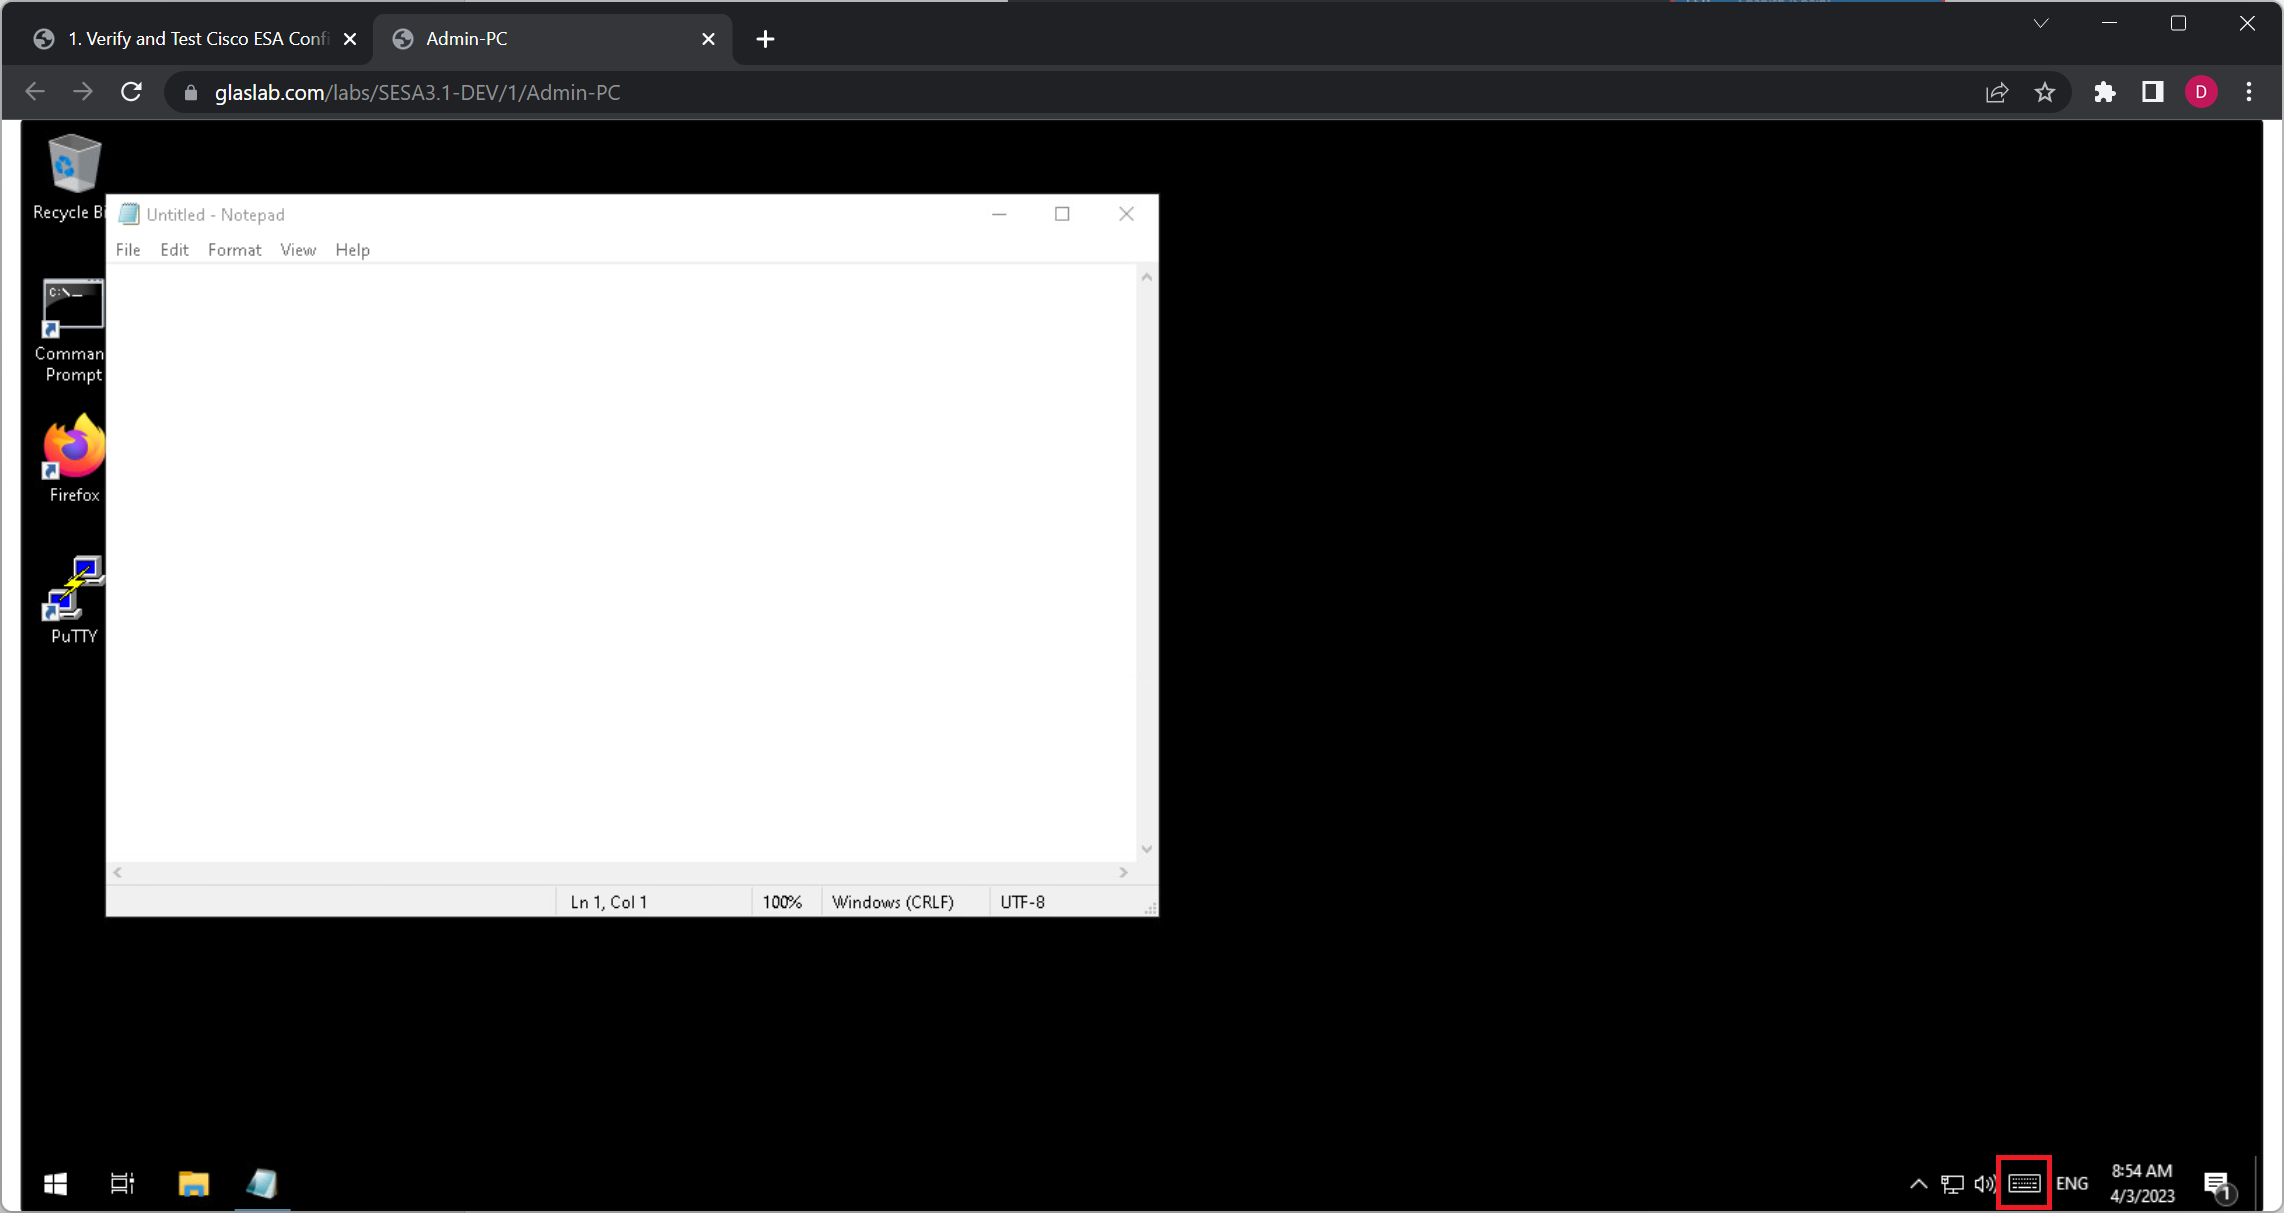
On Windows VM, click the language bar in the task bar to display the language menu.

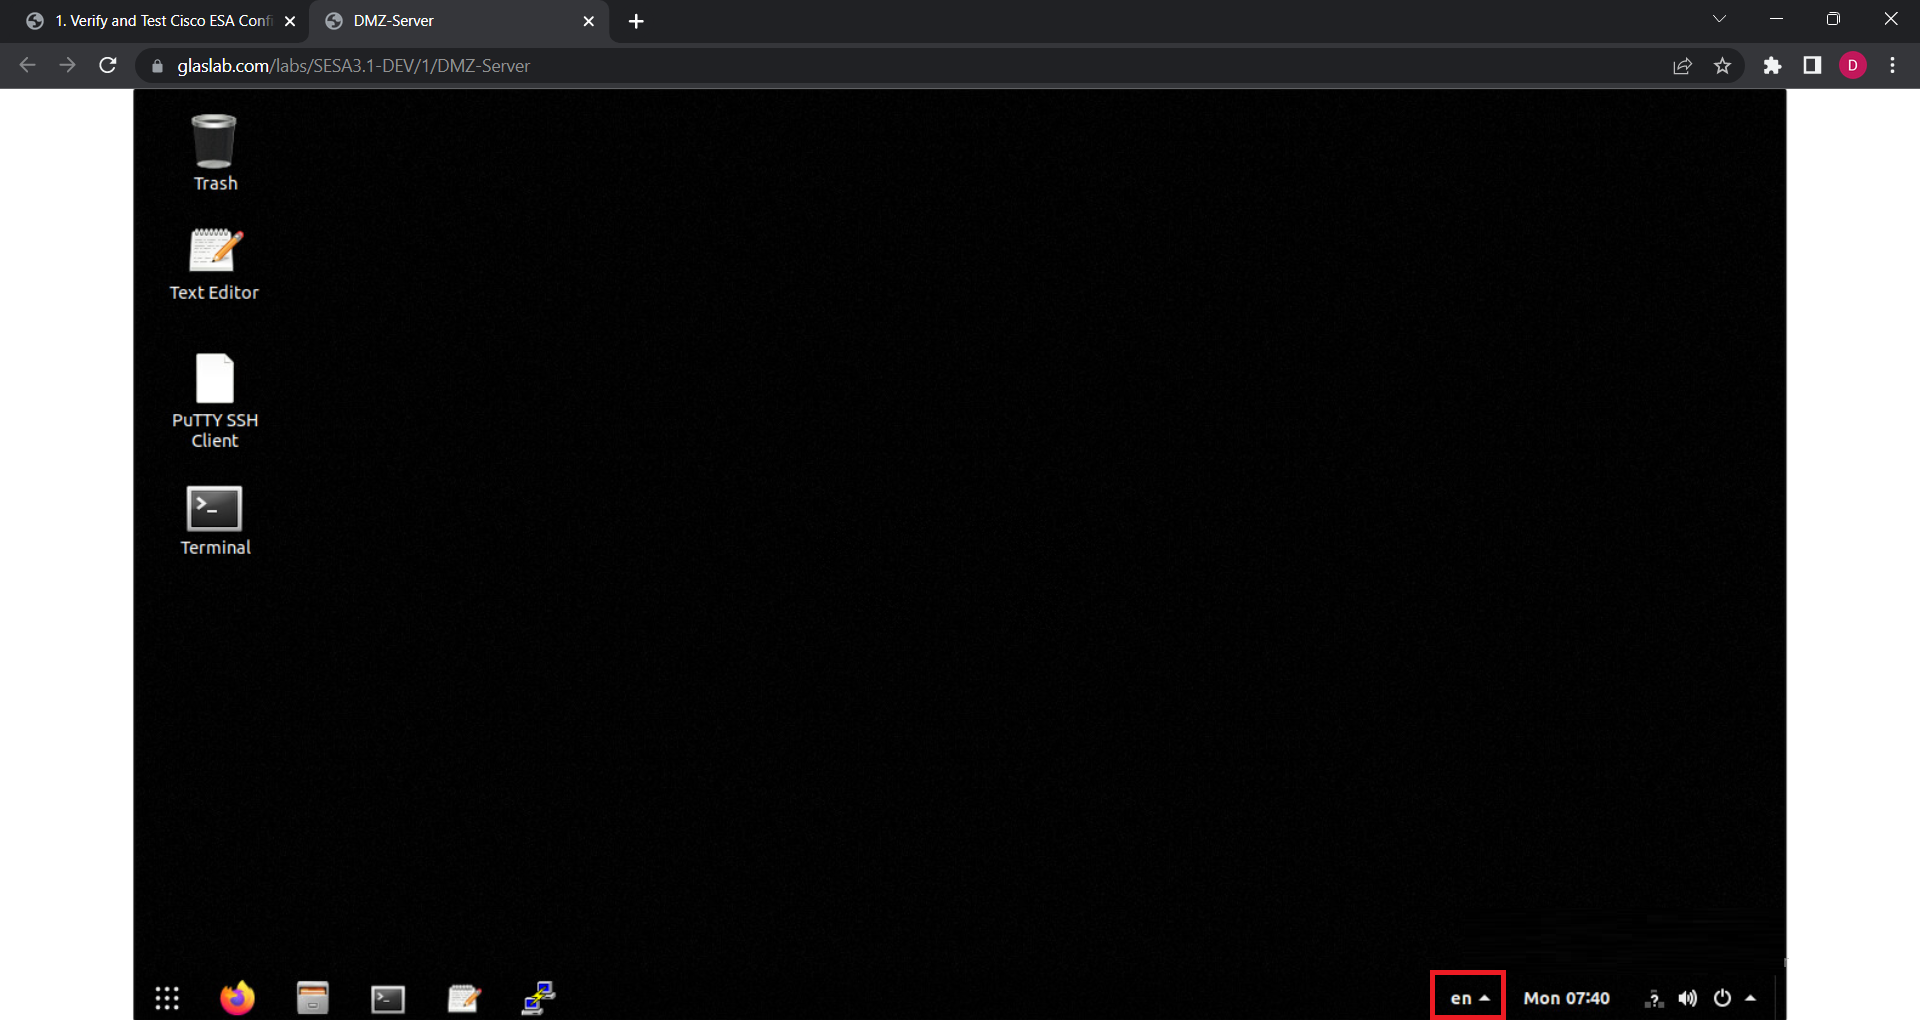
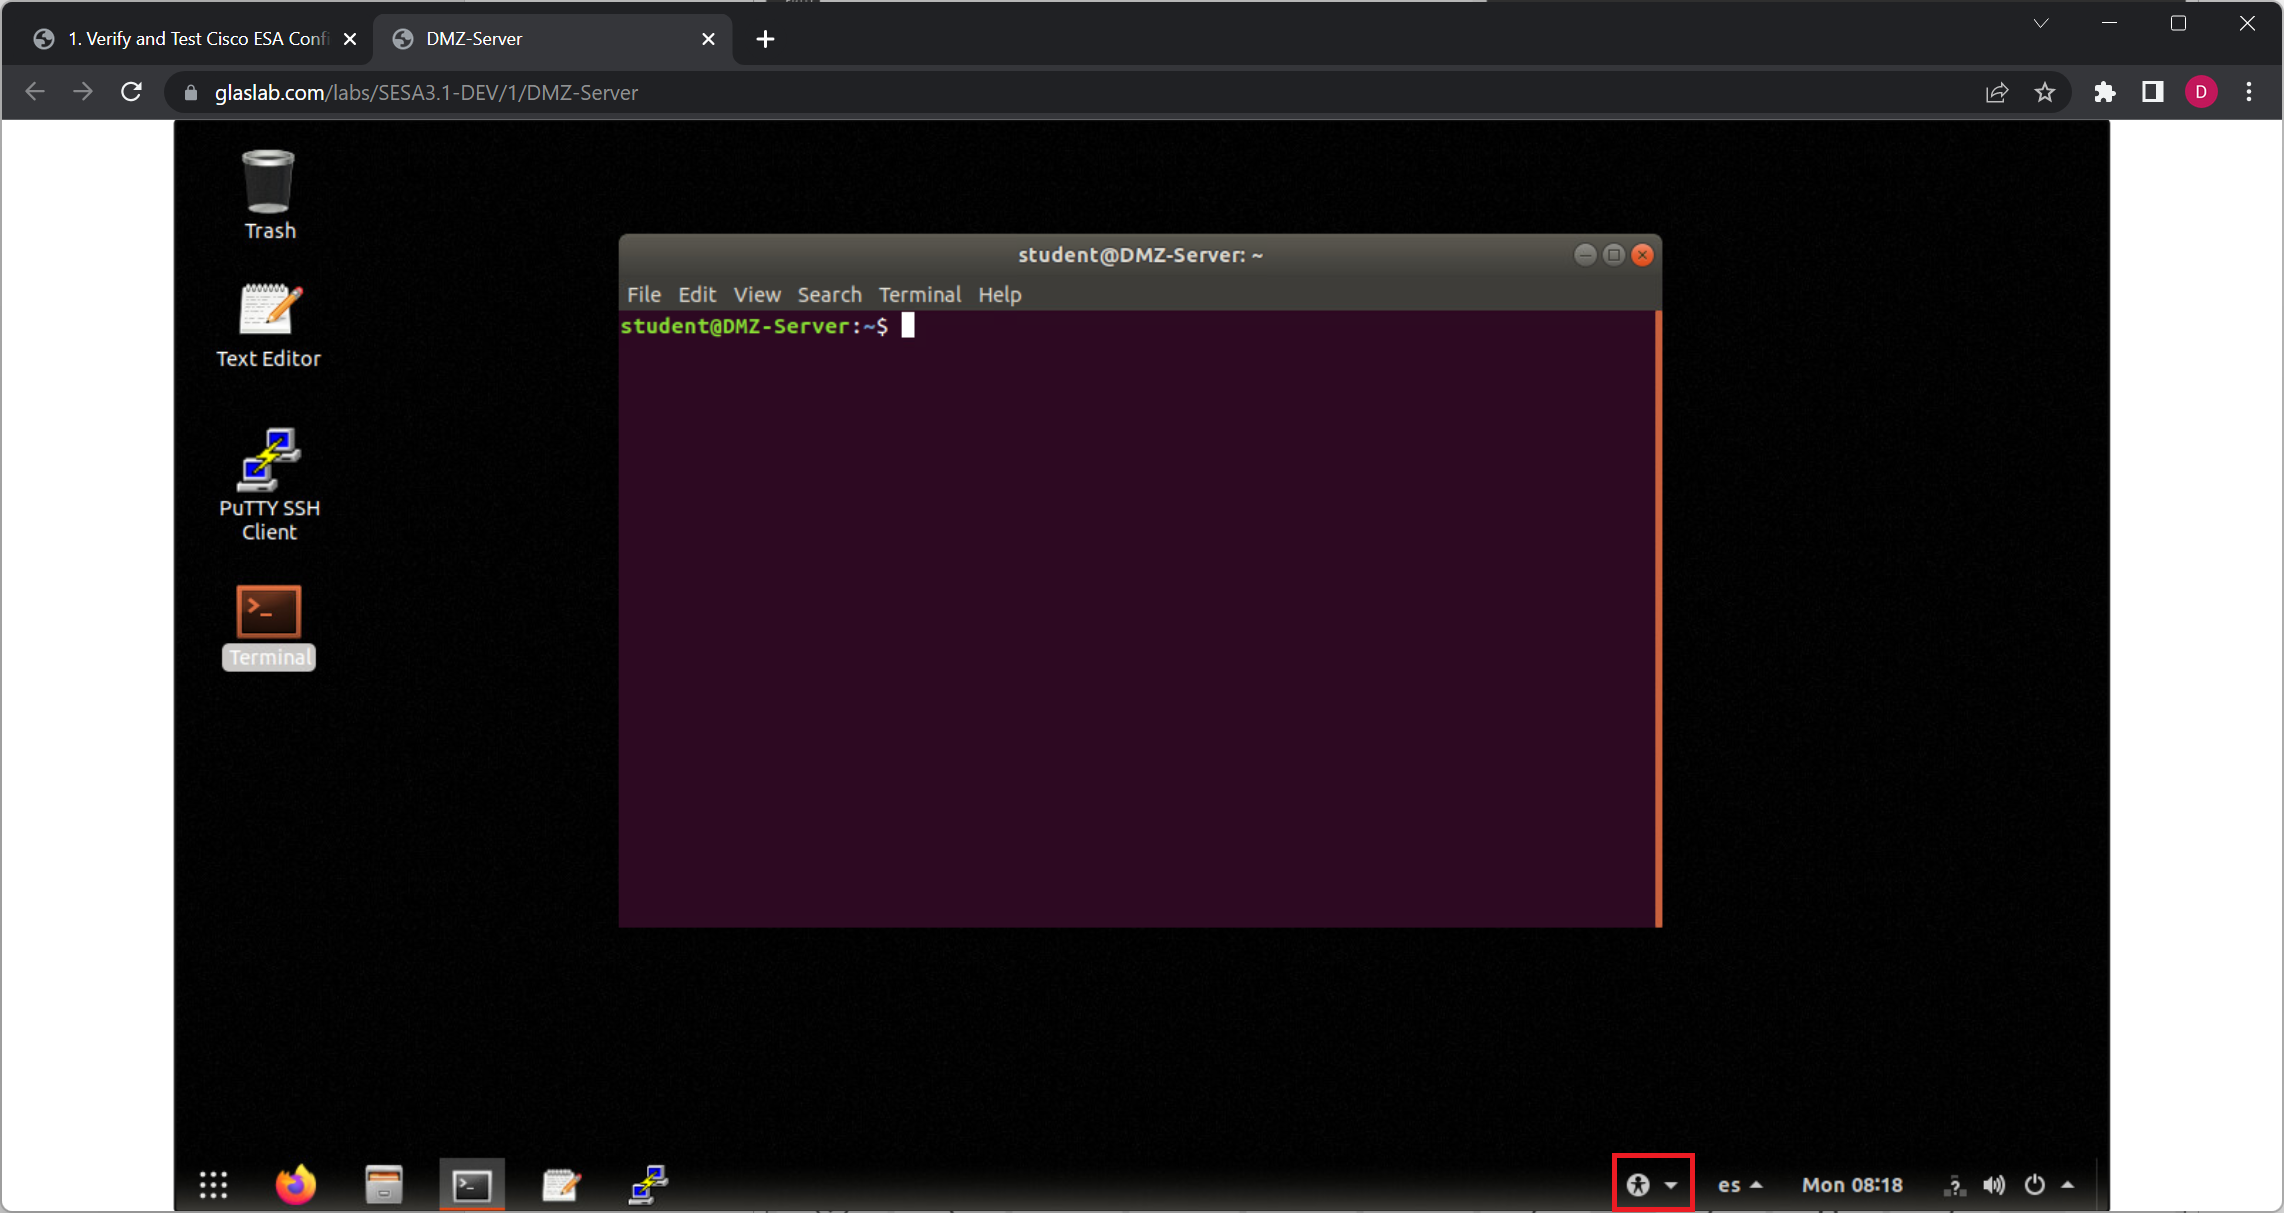
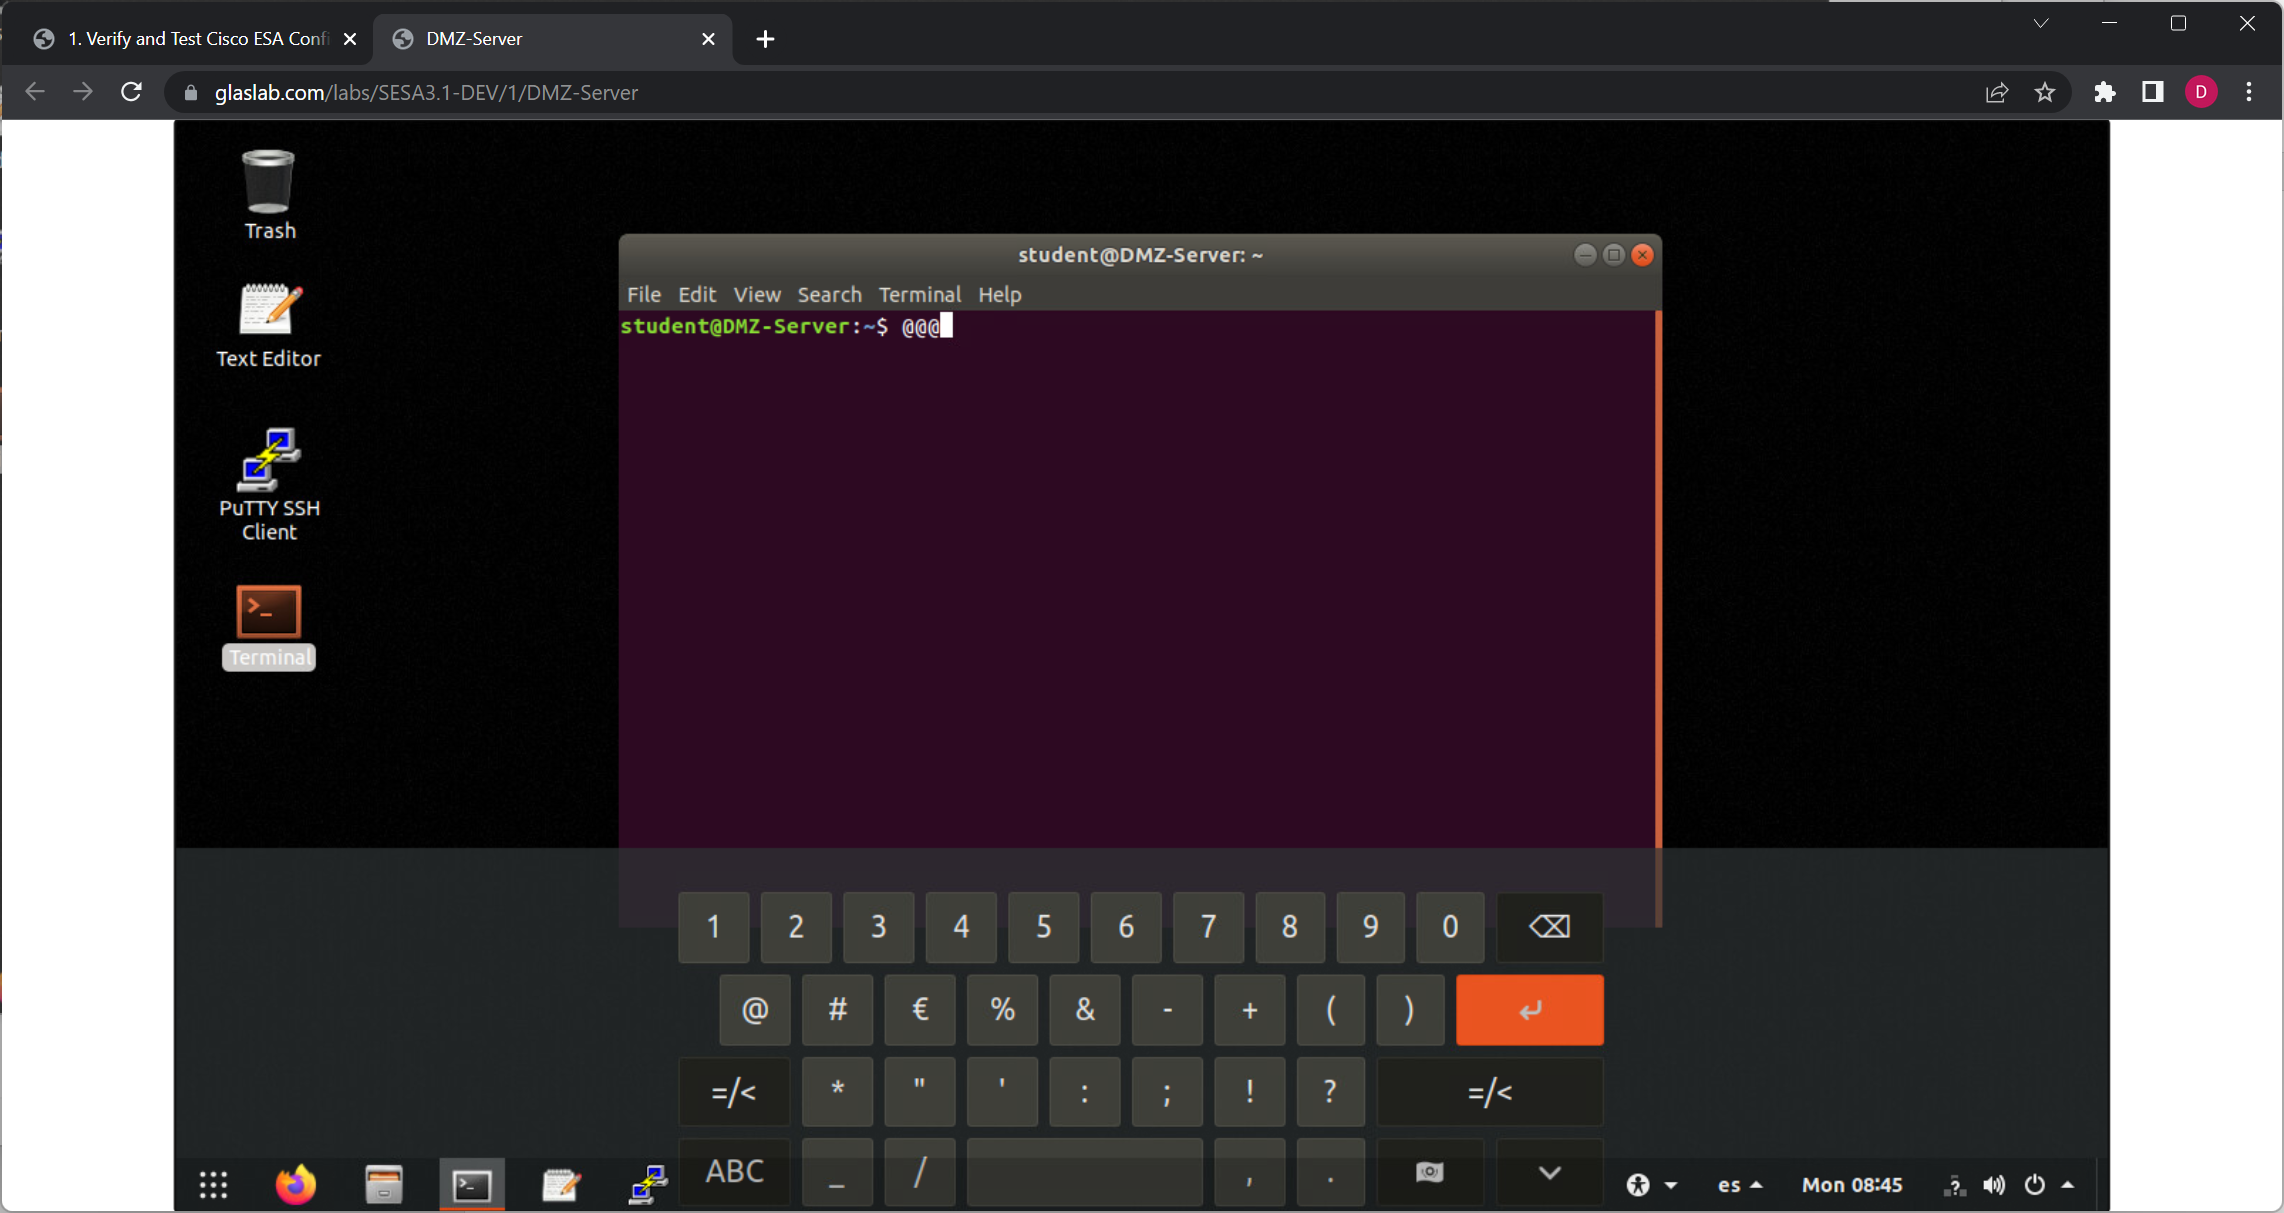
On Ubuntu VM, click the language bar in the task bar to display the language menu.
Step 4:
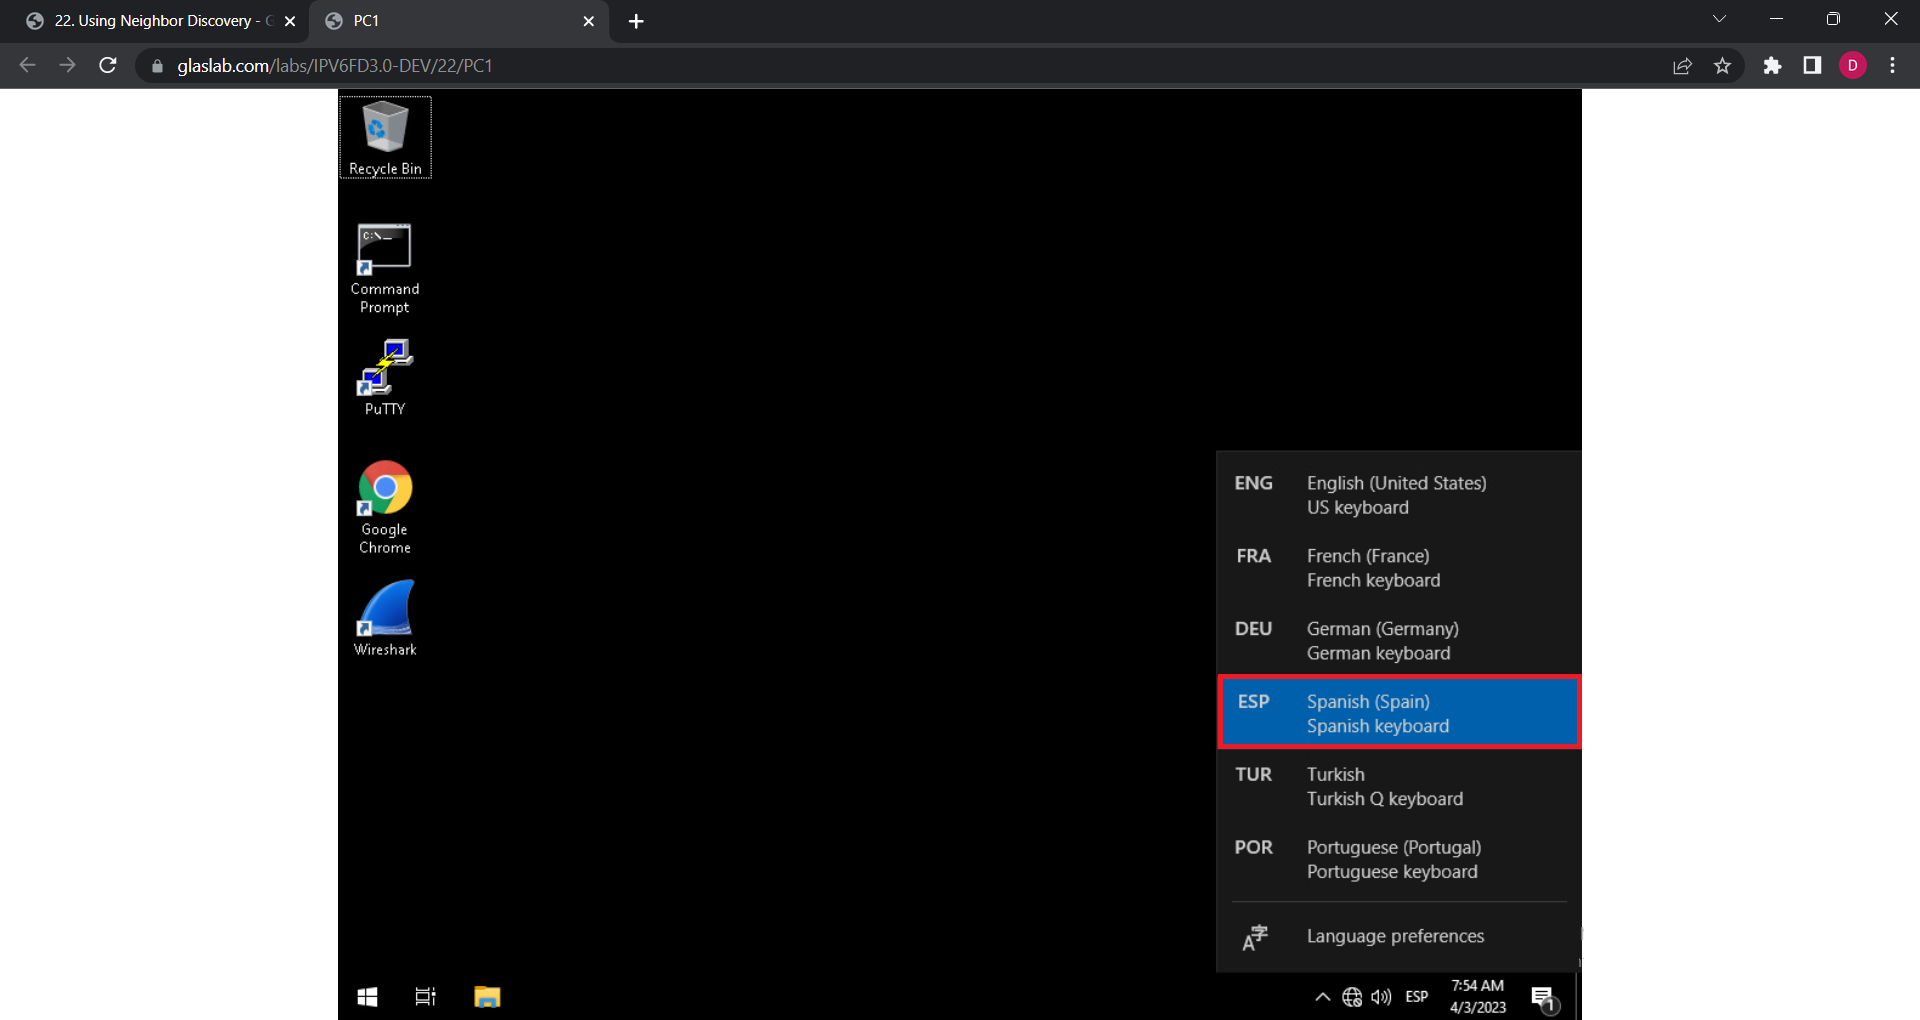
On Windows VM in Language menu, select your preference language.
On Ubuntu VM, in Language menu select your preference language.
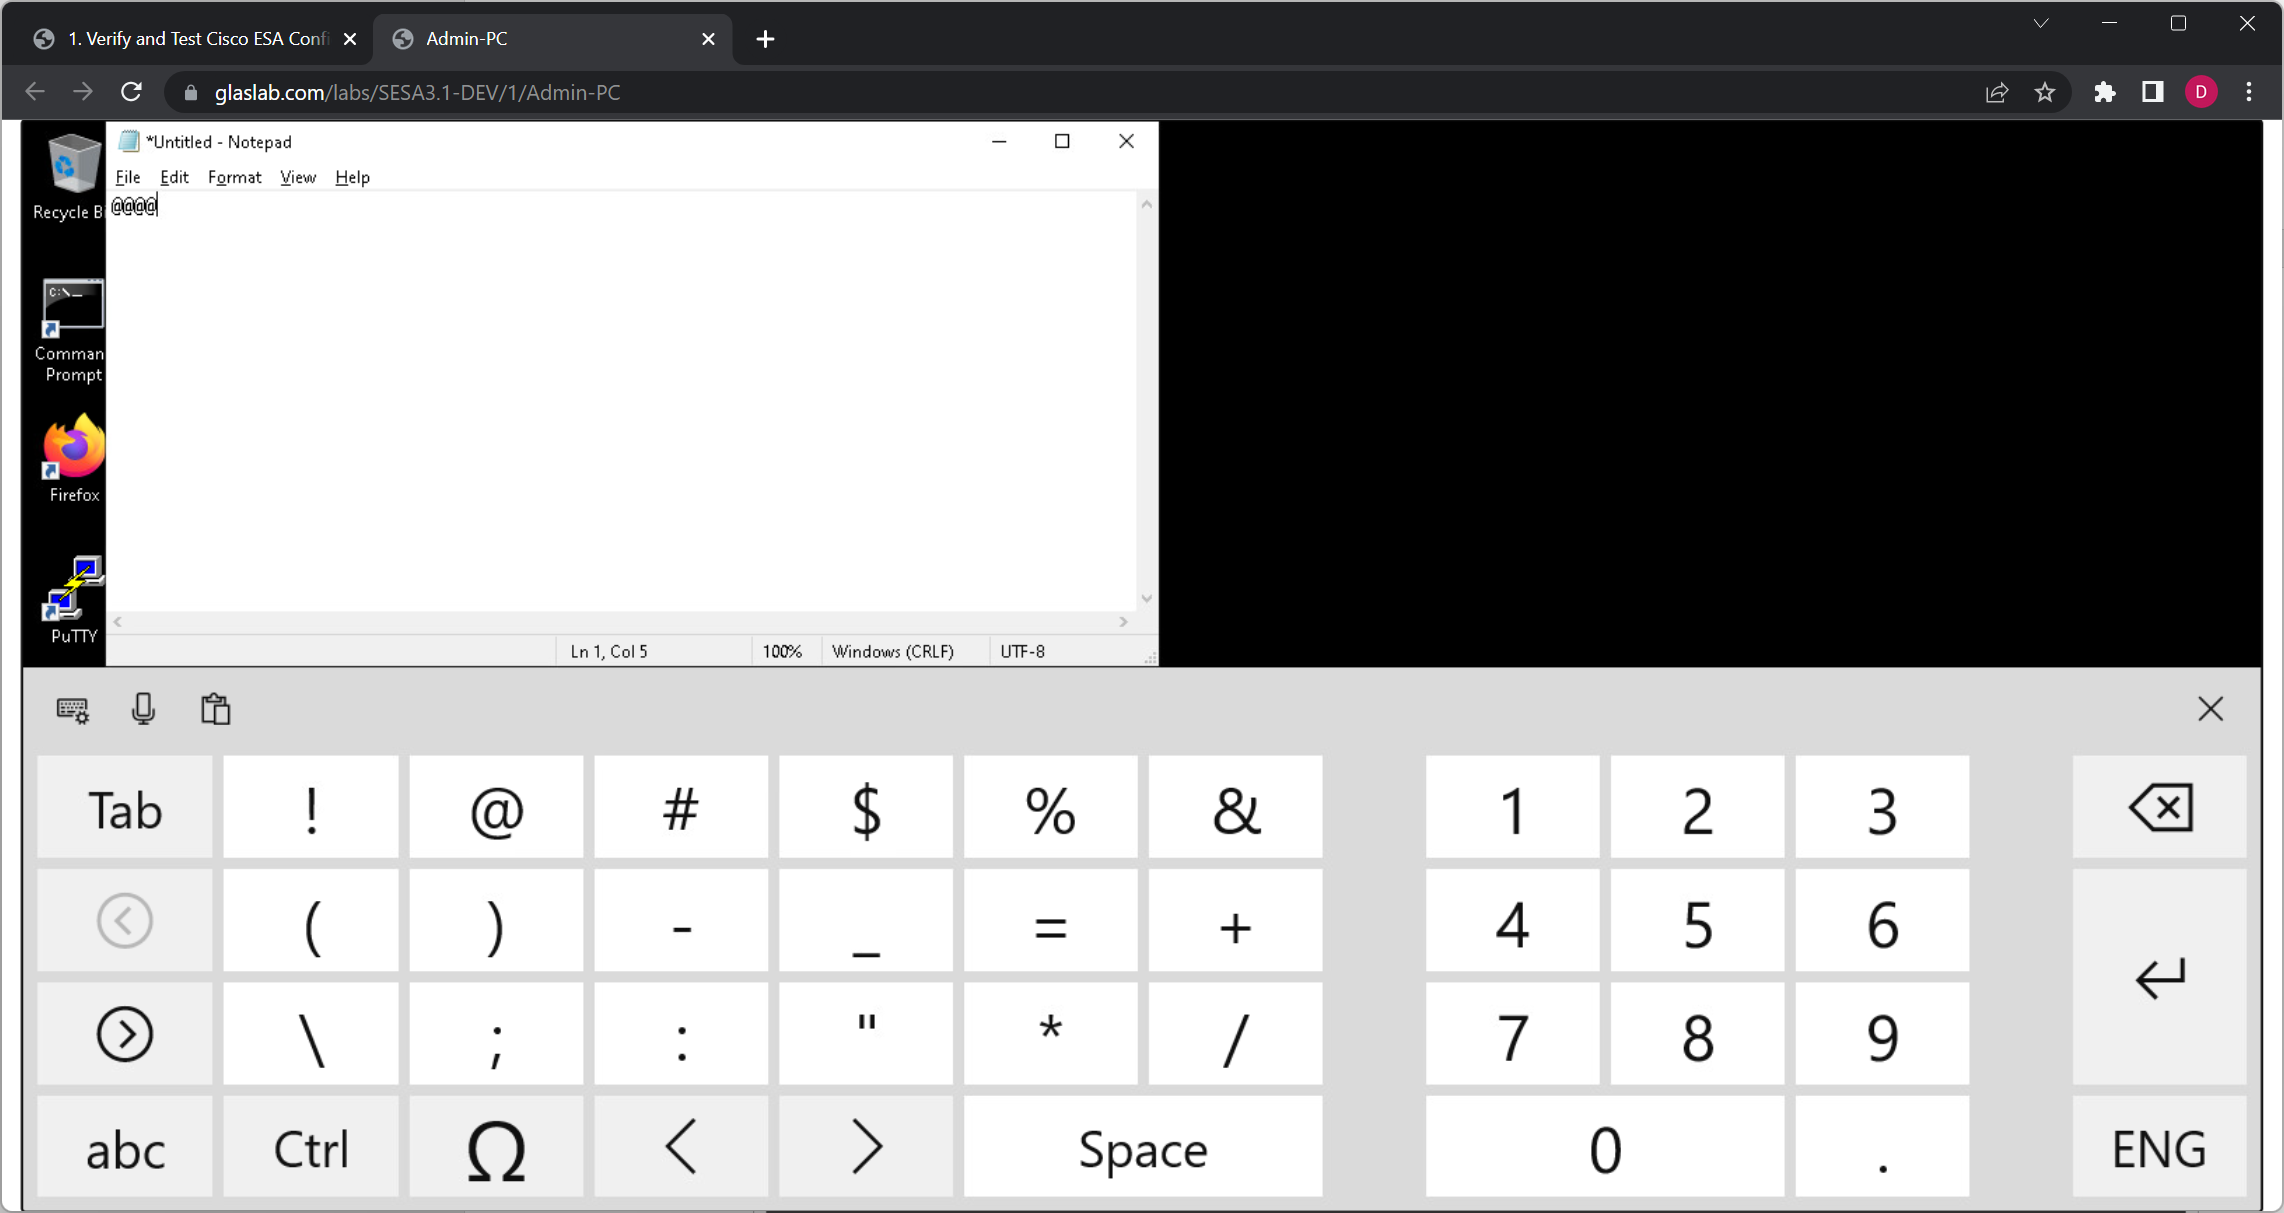
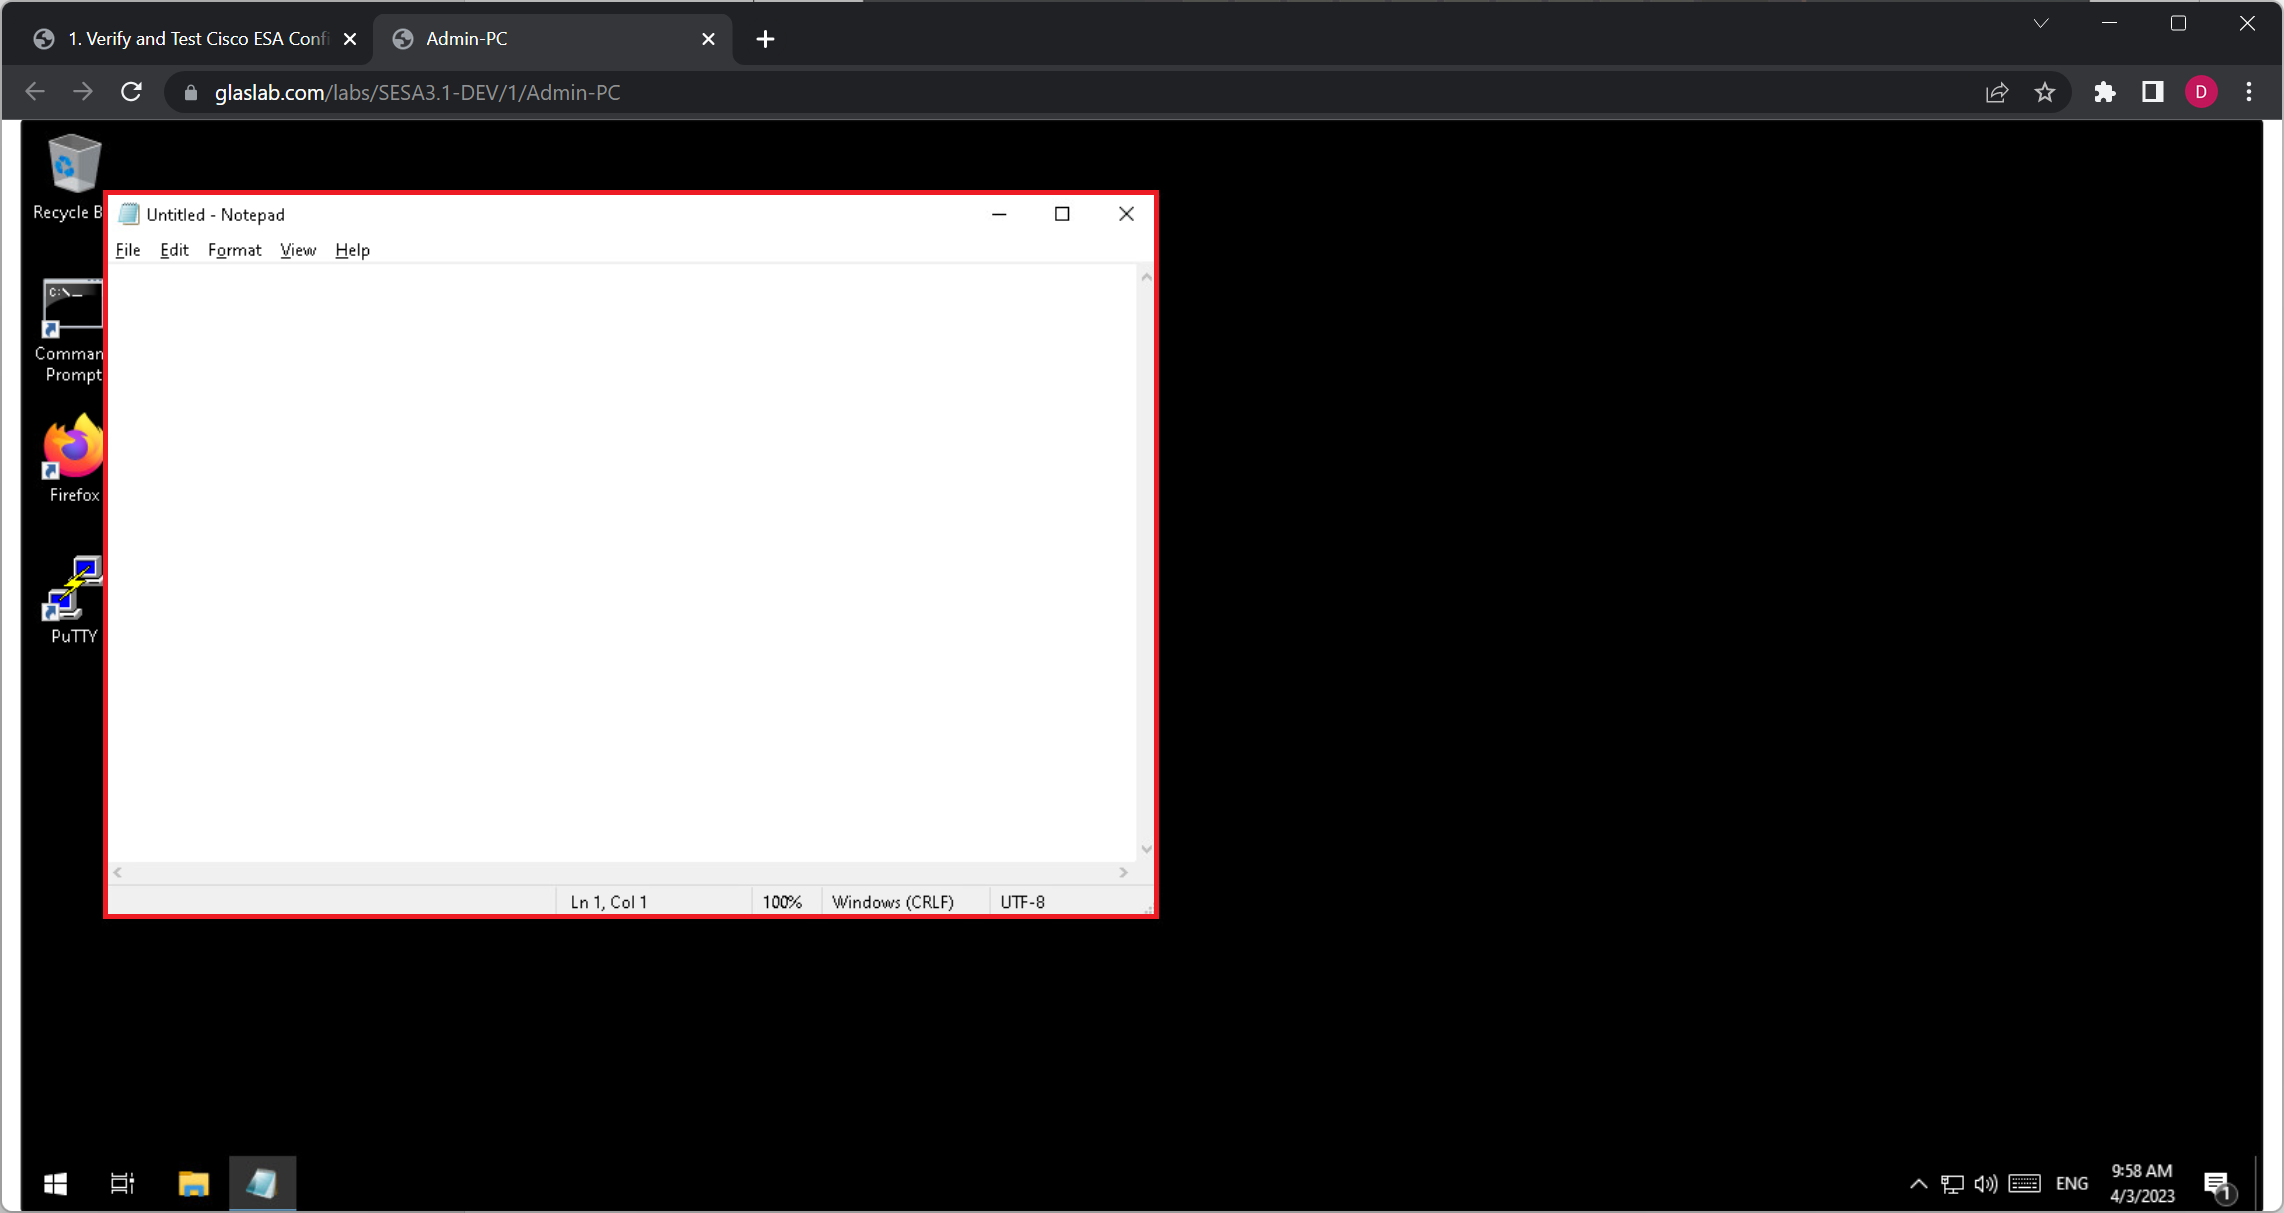
Step 1:
On Windows or Ubuntu VM, verify an application that can receive input keys is the active window.
Step 2:
On Windows or Ubuntu VM, press key combination Ctrl+Alt+G to display Input Options menu.
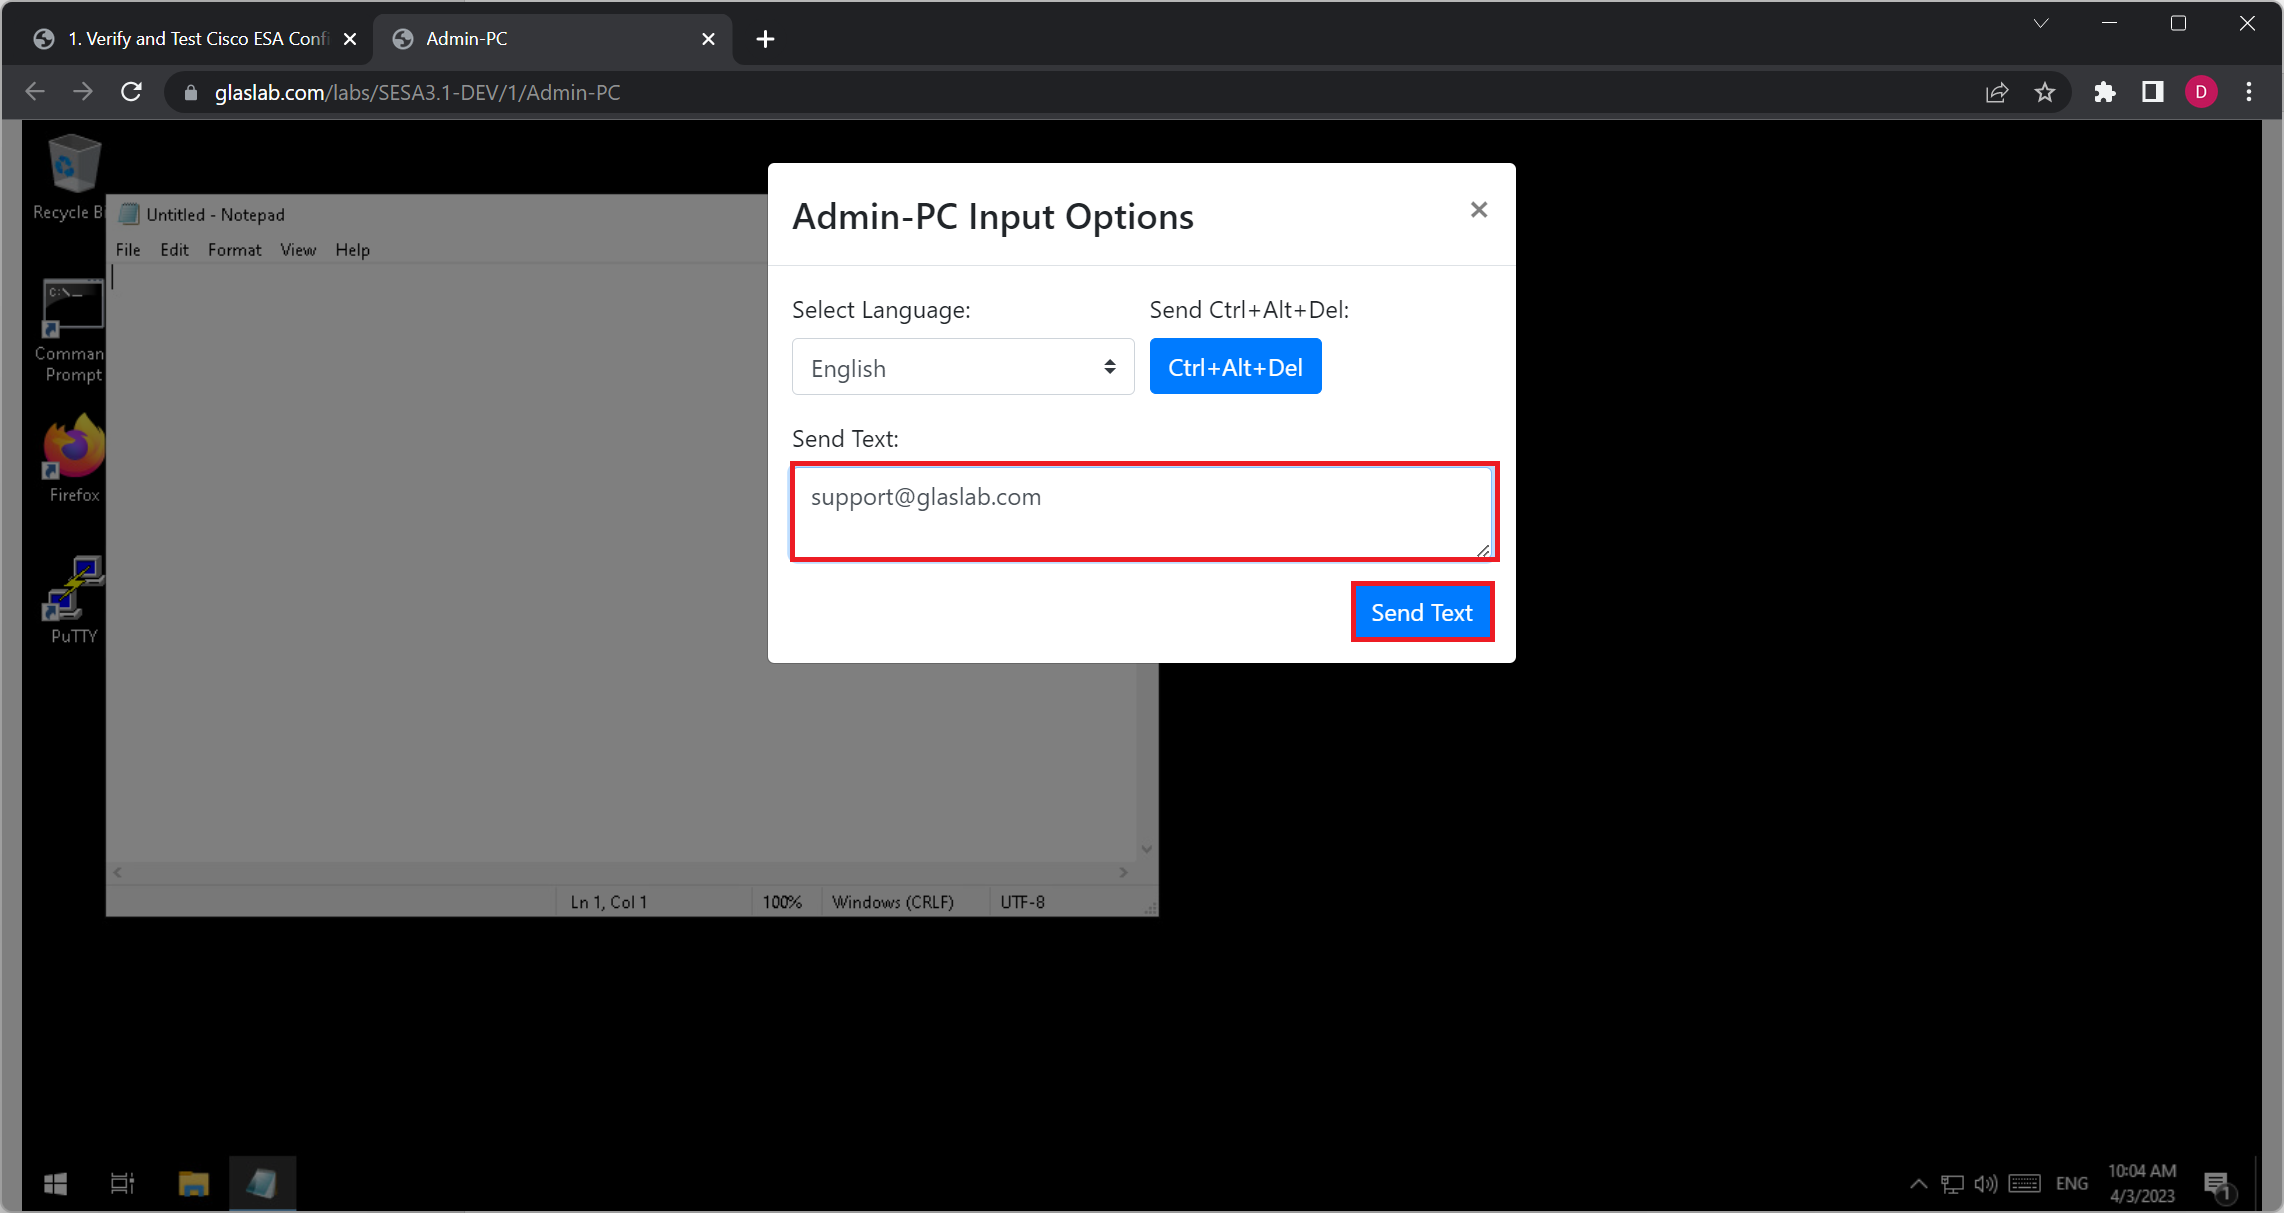
Step 3:
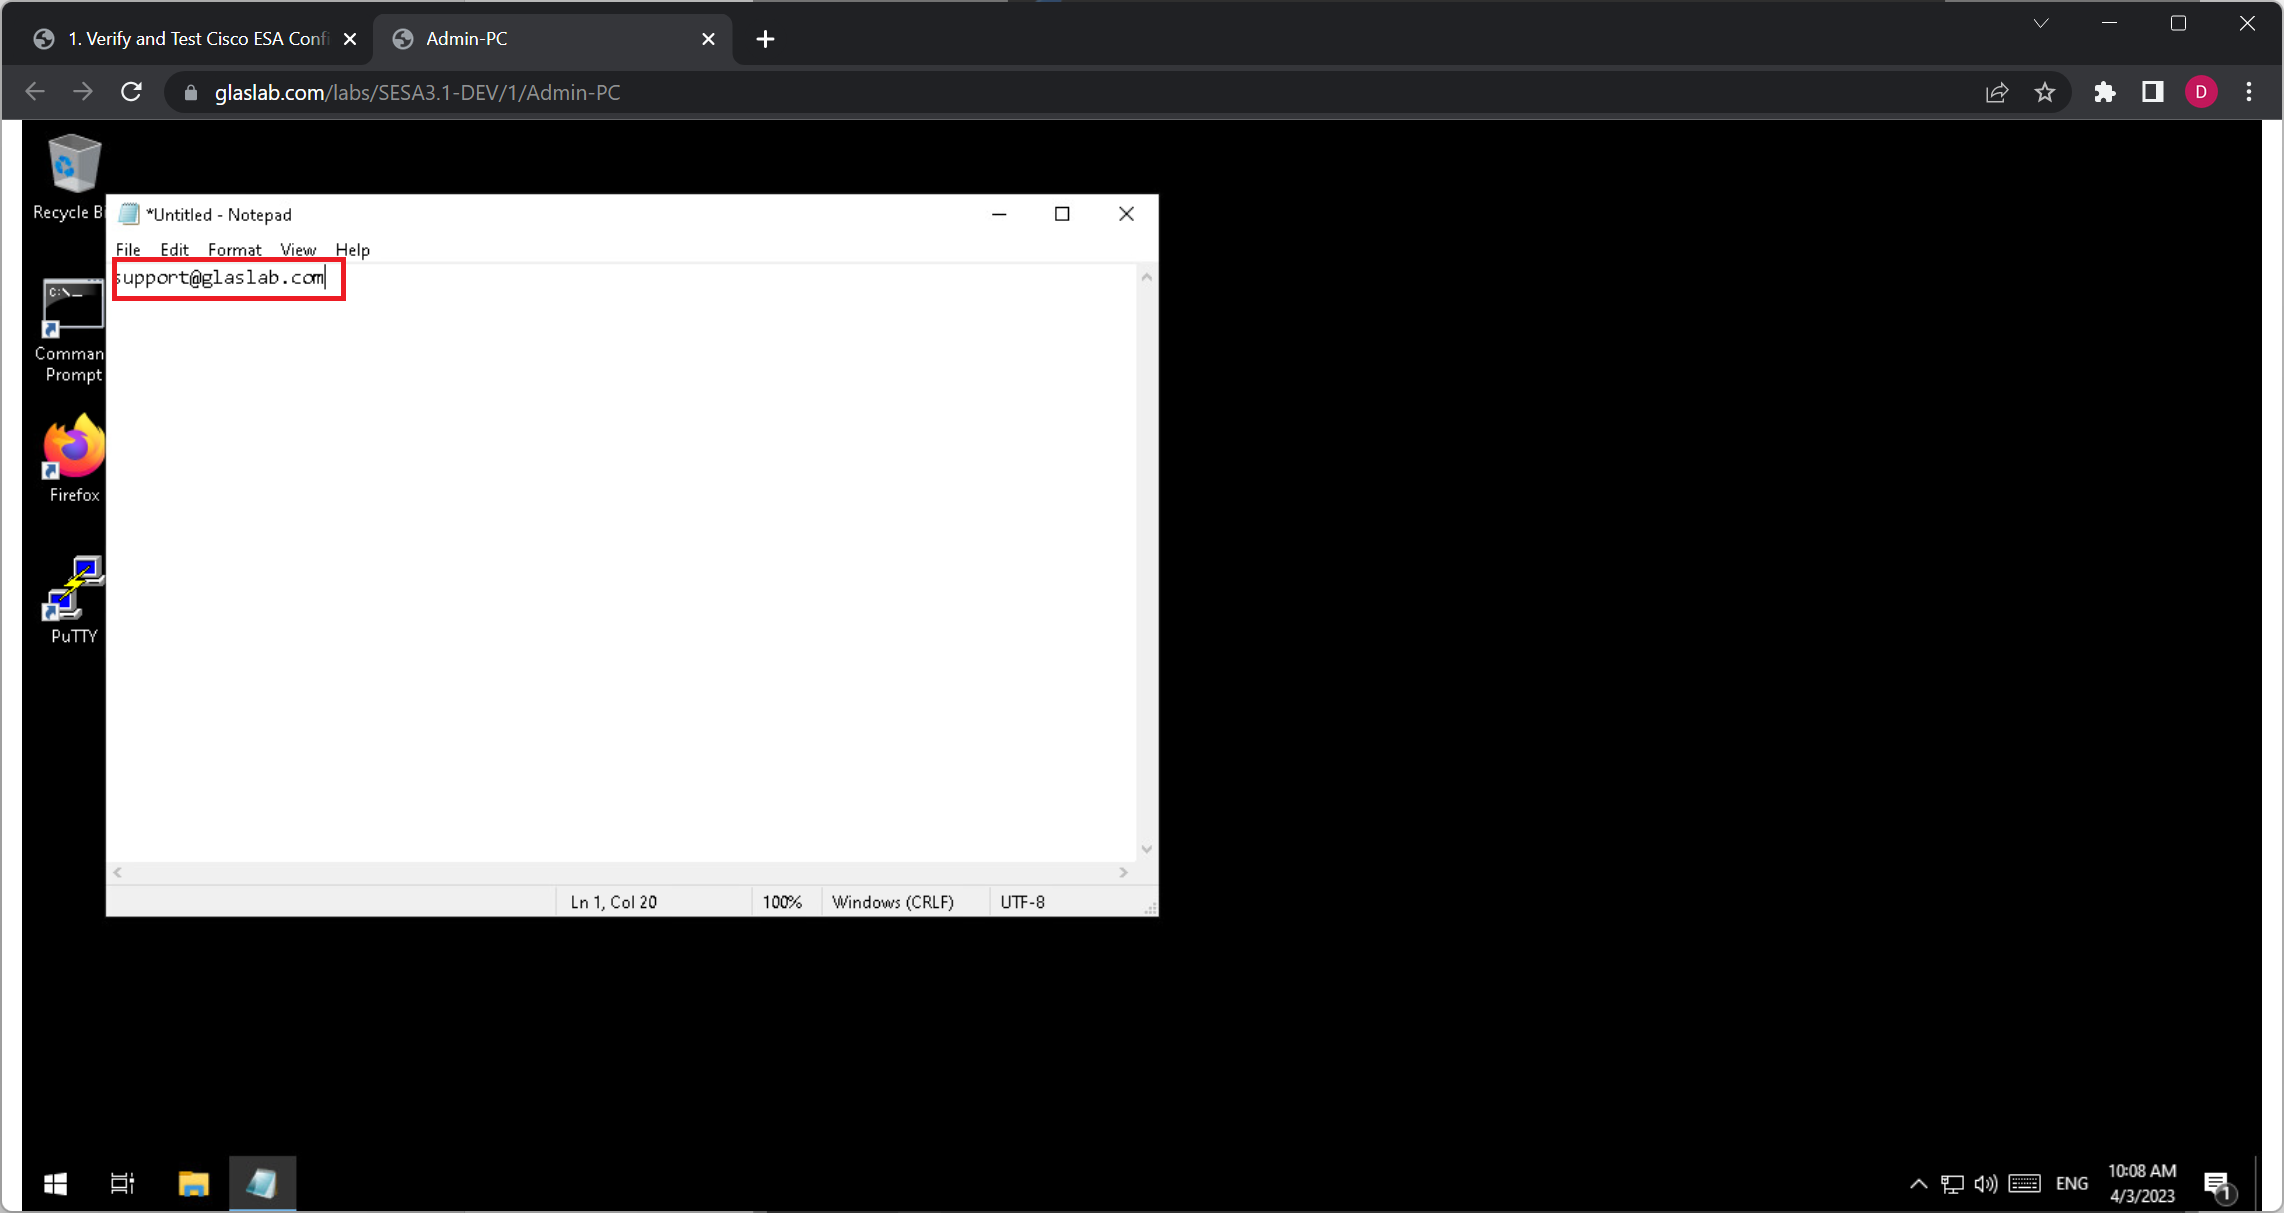
On Input Options menu, in the Send Text text area, enter the text you want to send to VM, then click the Send Text button.
Step 4:
On Windows or Ubuntu VM, verify the sent text was entered in the appropriate app window.
Step 1:
Verified you connect to www.glaslab.com using HTTPS.

Step 2:
Wait until you see the microphone icon on Windows desktop bar.

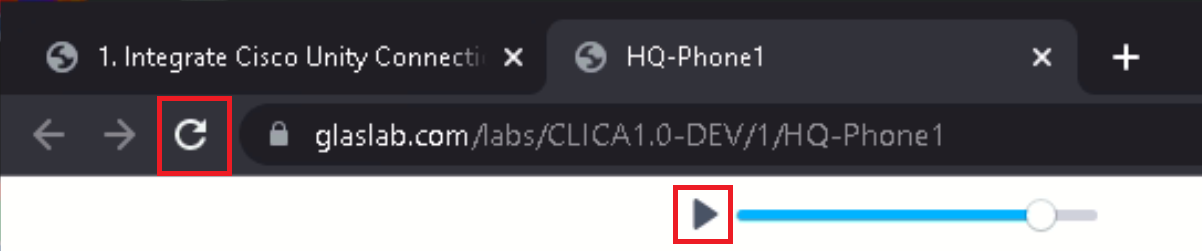
Step 3:
Click Chrome reload button, then click the Play button.
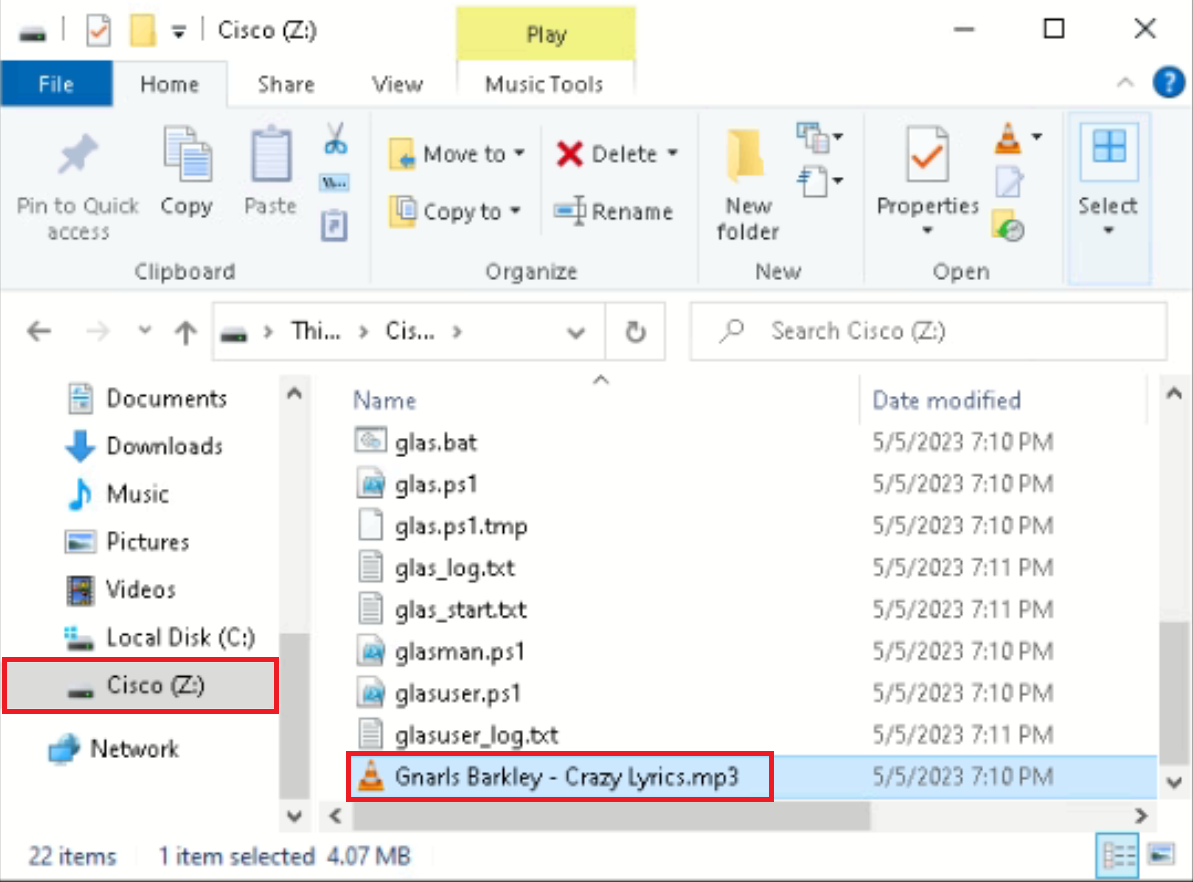
Step 4:
Open Windows Explorer and browse to Z:\ and open a .mp3 file, check you listening sound.
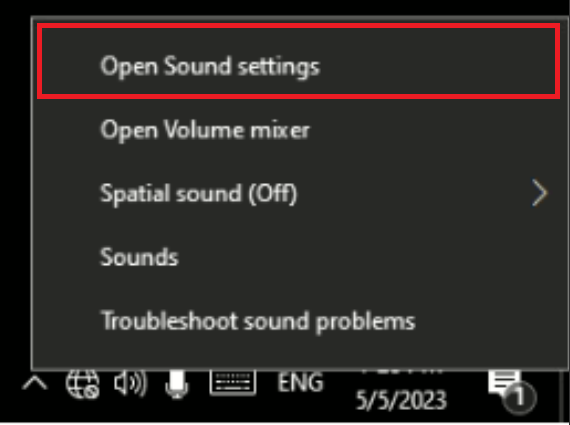
Step 5:
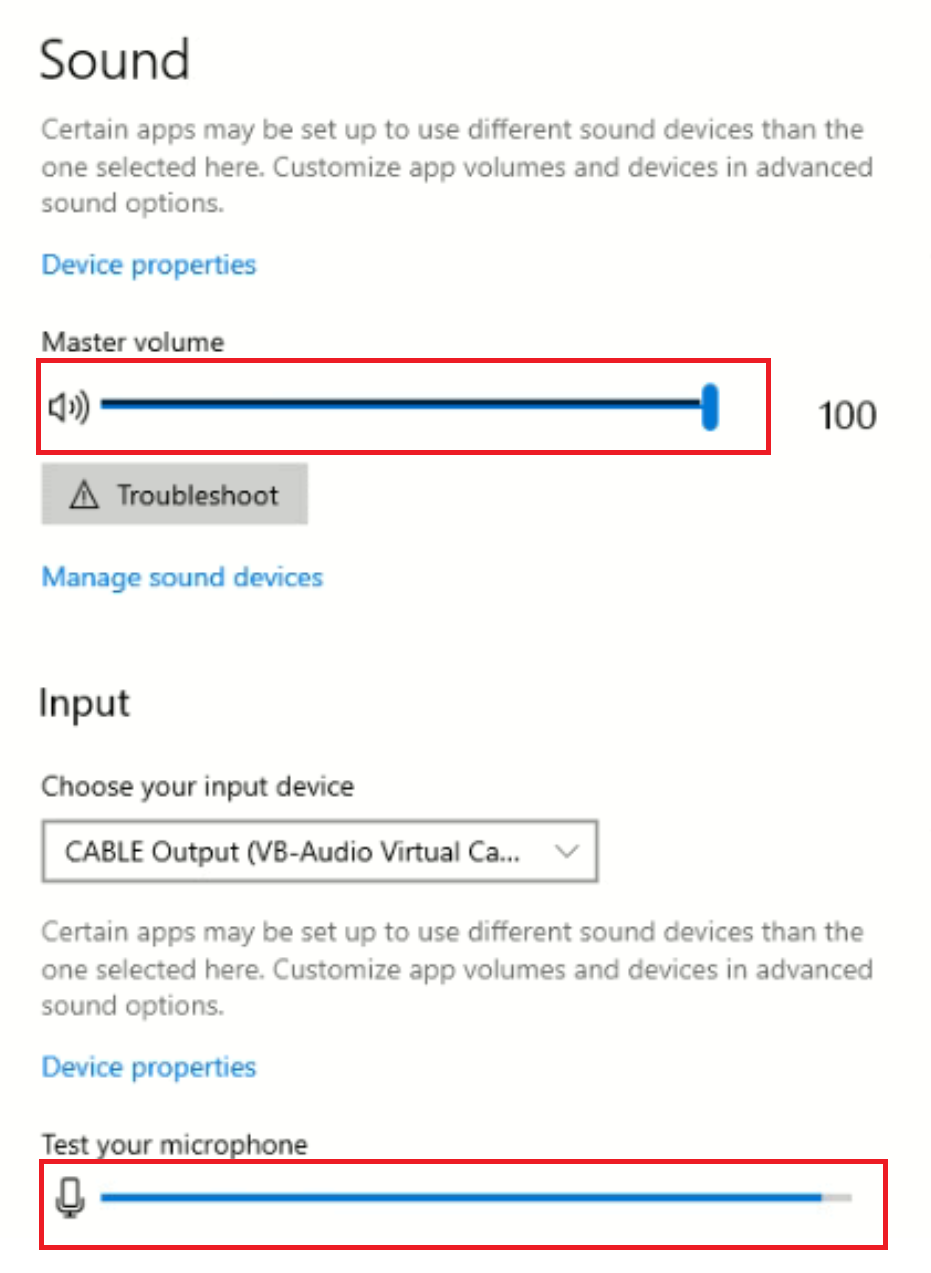
While .mp3 file is playing, on Windows desktop bar right click the speaker icon and select Open Sound settings option.
Step 6:
6. Verified speaker and microphone are reproducing sound.
Step 1:
Verified you connect to www.glaslab.com using HTTPS.

Step 2:
Wait until you see the microphone icon on Windows desktop bar.
Step 3:
On Firefox, click the site rights button and select Allow Sound and Video in Auto playing settings.

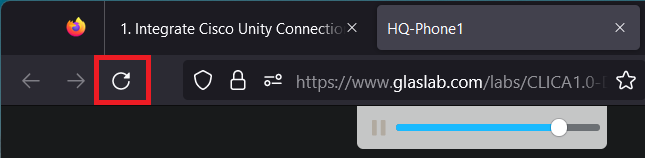
Step 4:
On Firefox, click the Reload button.
Step 5:
Open Windows Explorer and browse to Z:\ and open a .mp3 file, check you listening sound.
Step 6:
While .mp3 file is playing, on Windows desktop bar right click the speaker icon and select Open Sound settings option.
Step 7:
Verified speaker and microphone are reproducing sound.